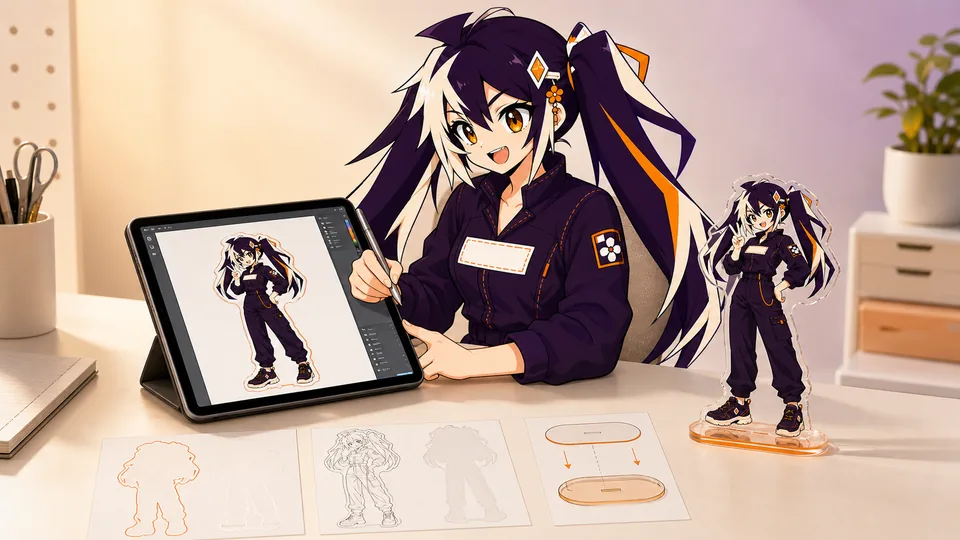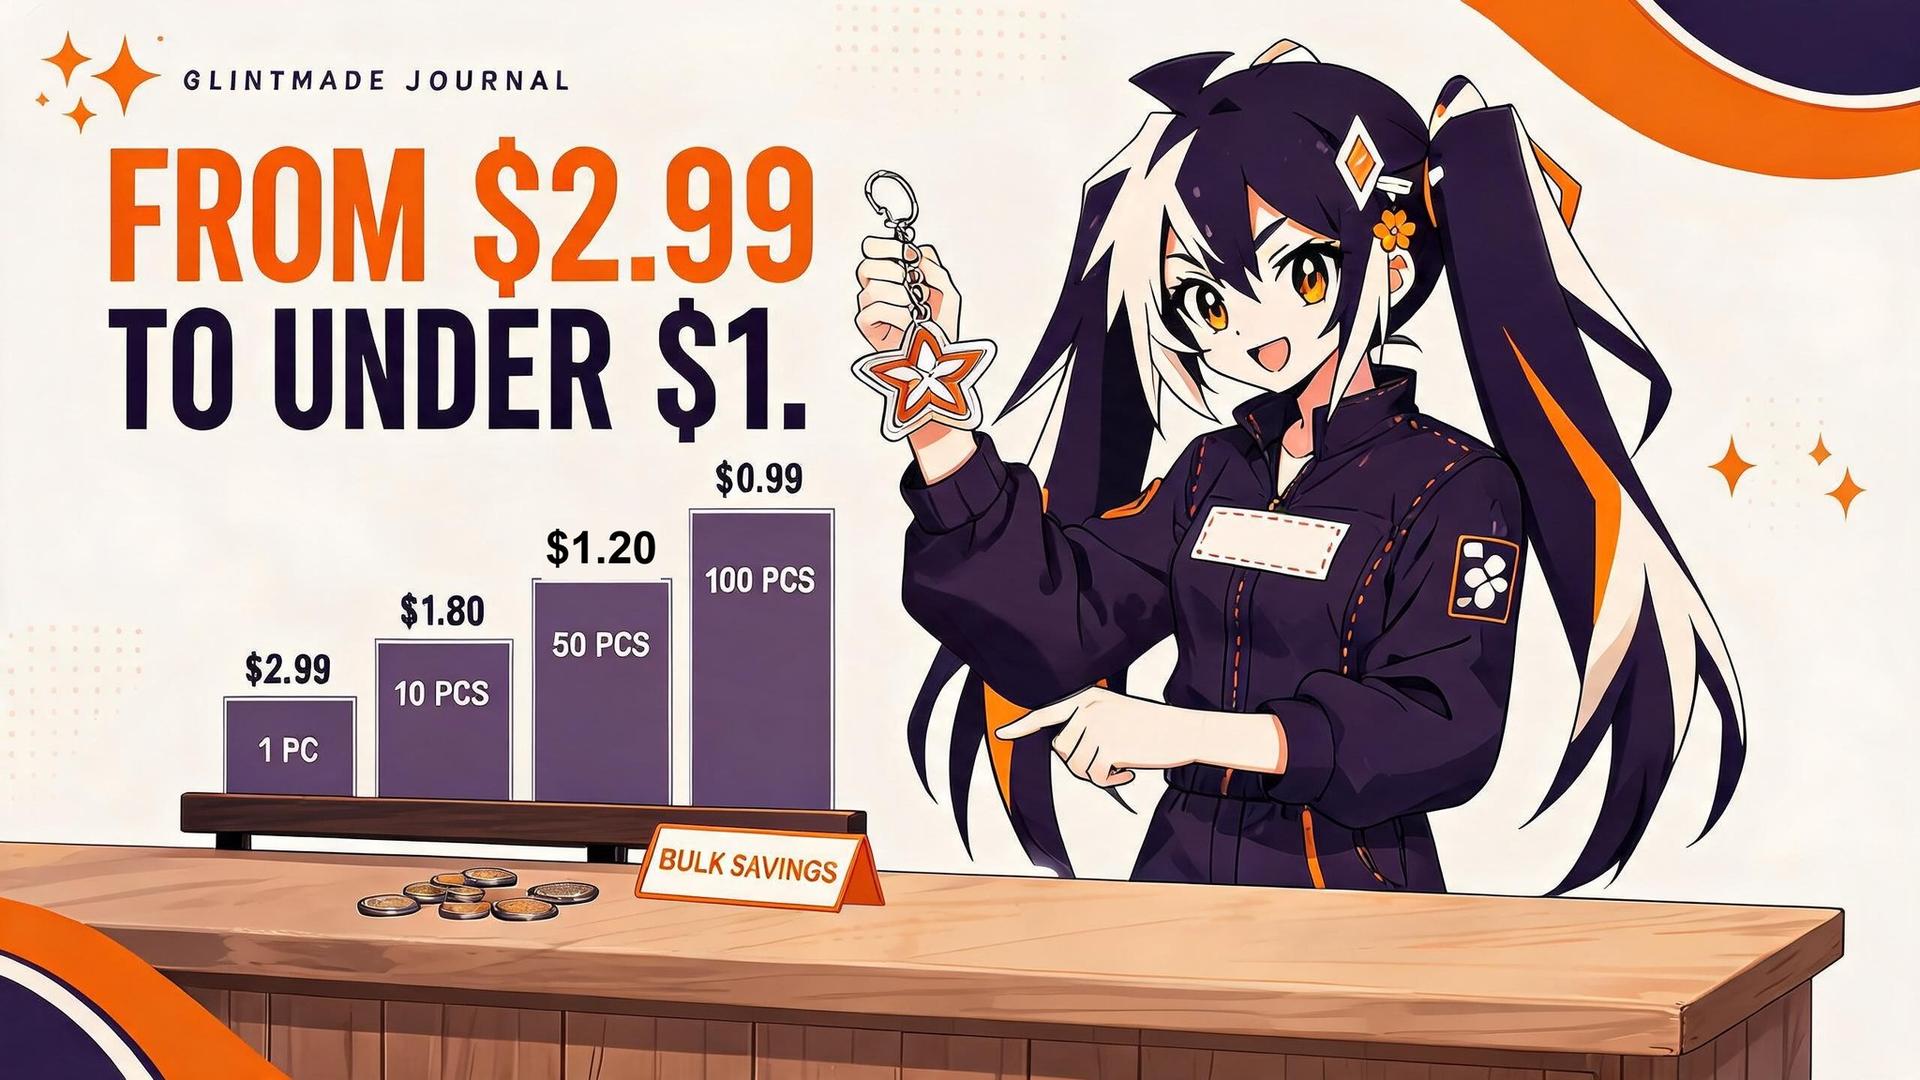
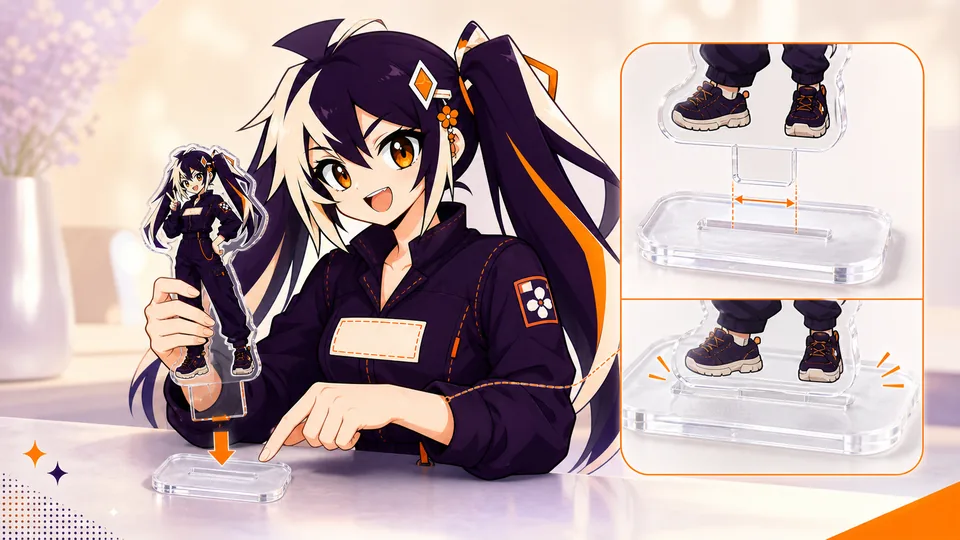
A standee can have perfect printing and still fail as a display if its tab, slot and center of gravity are treated as separate decisions. The upright and base must be engineered as one assembly.
Keep the factory tab and slot template paired, confirm material thickness, center the supported weight over the base and approve the upright, slot position and viewing direction in one proof.
01
Key takeaways
Use these decisions to guide the detailed checks below.
- Keep the tab and base slot on the same template version.
- Check material and assembled geometry with the production team.
- Review the upright’s support and the base footprint together.
- Keep printed base details clear of the assembly opening.
- Use a physical sample when the unresolved question is fit or balance.
| Check | Digital review can show | Physical review may be needed for |
|---|---|---|
| Tab/slot pairing | Matching template versions and dimensions | Actual insertion and retention |
| Layout | Viewing direction and artwork position | Appearance after assembly |
| Support | Proposed footprint and arrangement | Balance and handling |
| Packing | Component list and intended protection | How components arrive and assemble |
02
Match the tab to the actual base slot
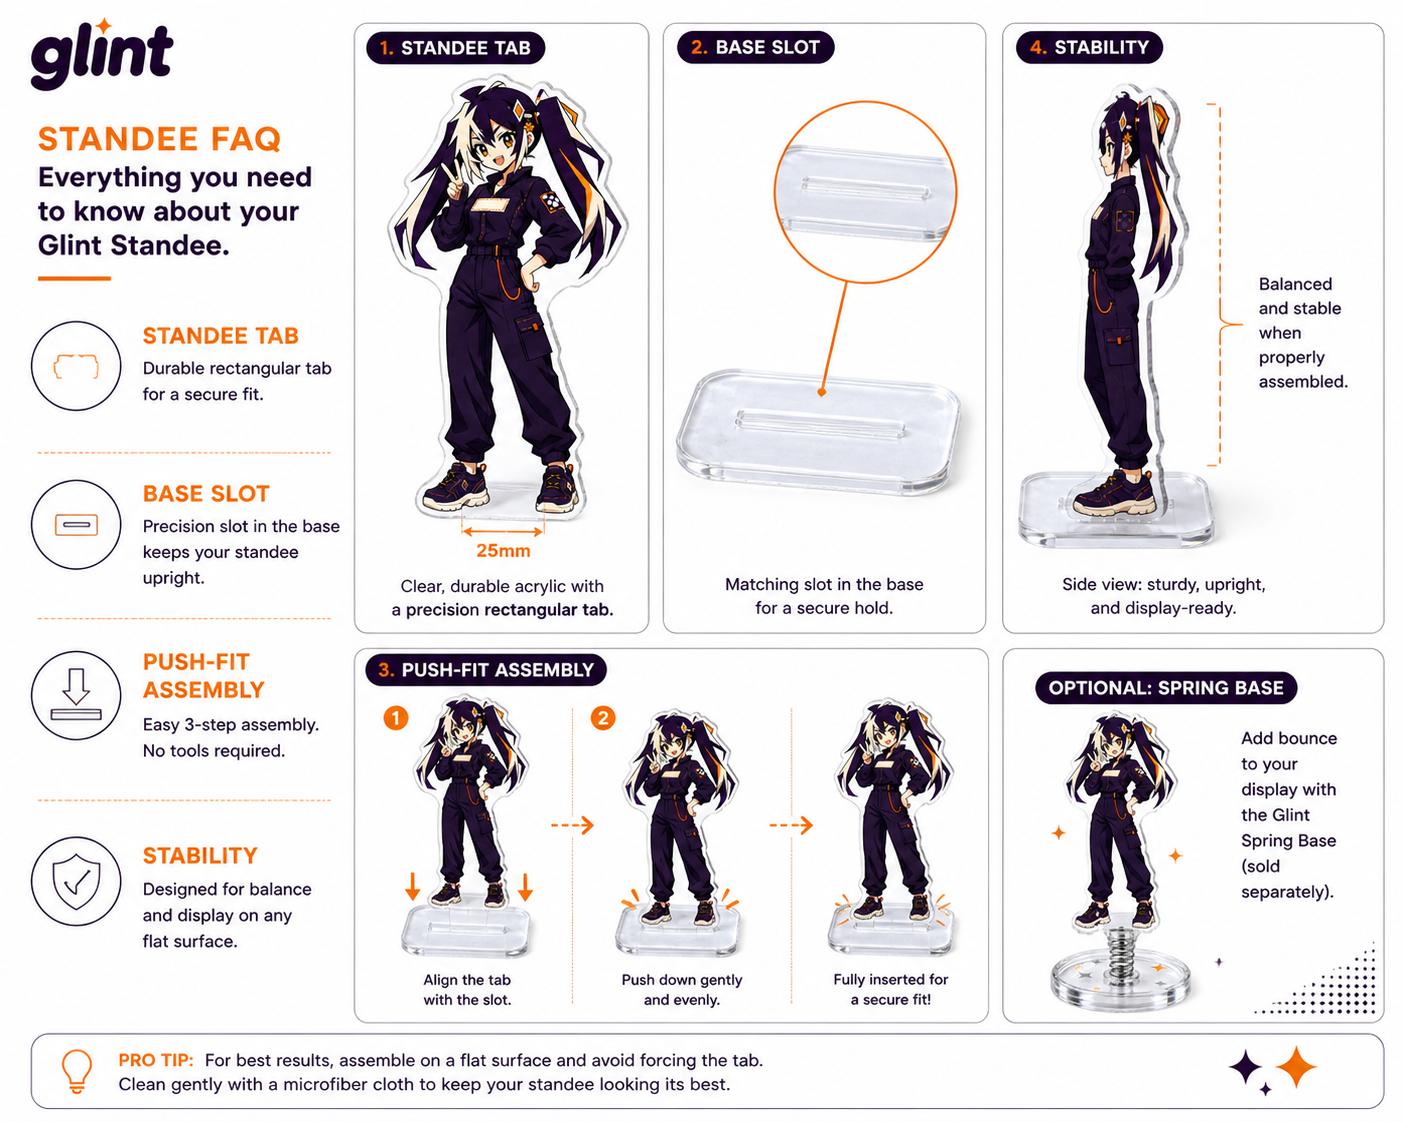
Do not resize the tab or slot independently. Even a small mismatch changes how tightly the upright presses into the base and whether the edge is stressed during assembly.
03
Place the tab under the visual center of mass
A tall character with hair or props on one side may need a different tab position from a symmetrical logo. The goal is stable weight distribution, not geometric centering alone.
Begin with how the artwork distributes visual and physical shape around the support. A character with a large accessory on one side may need a different arrangement from a compact symmetric emblem. Show the complete outline and the intended viewing direction to the production team. A visually centered tab is not, by itself, evidence that every shape will behave the same after assembly.
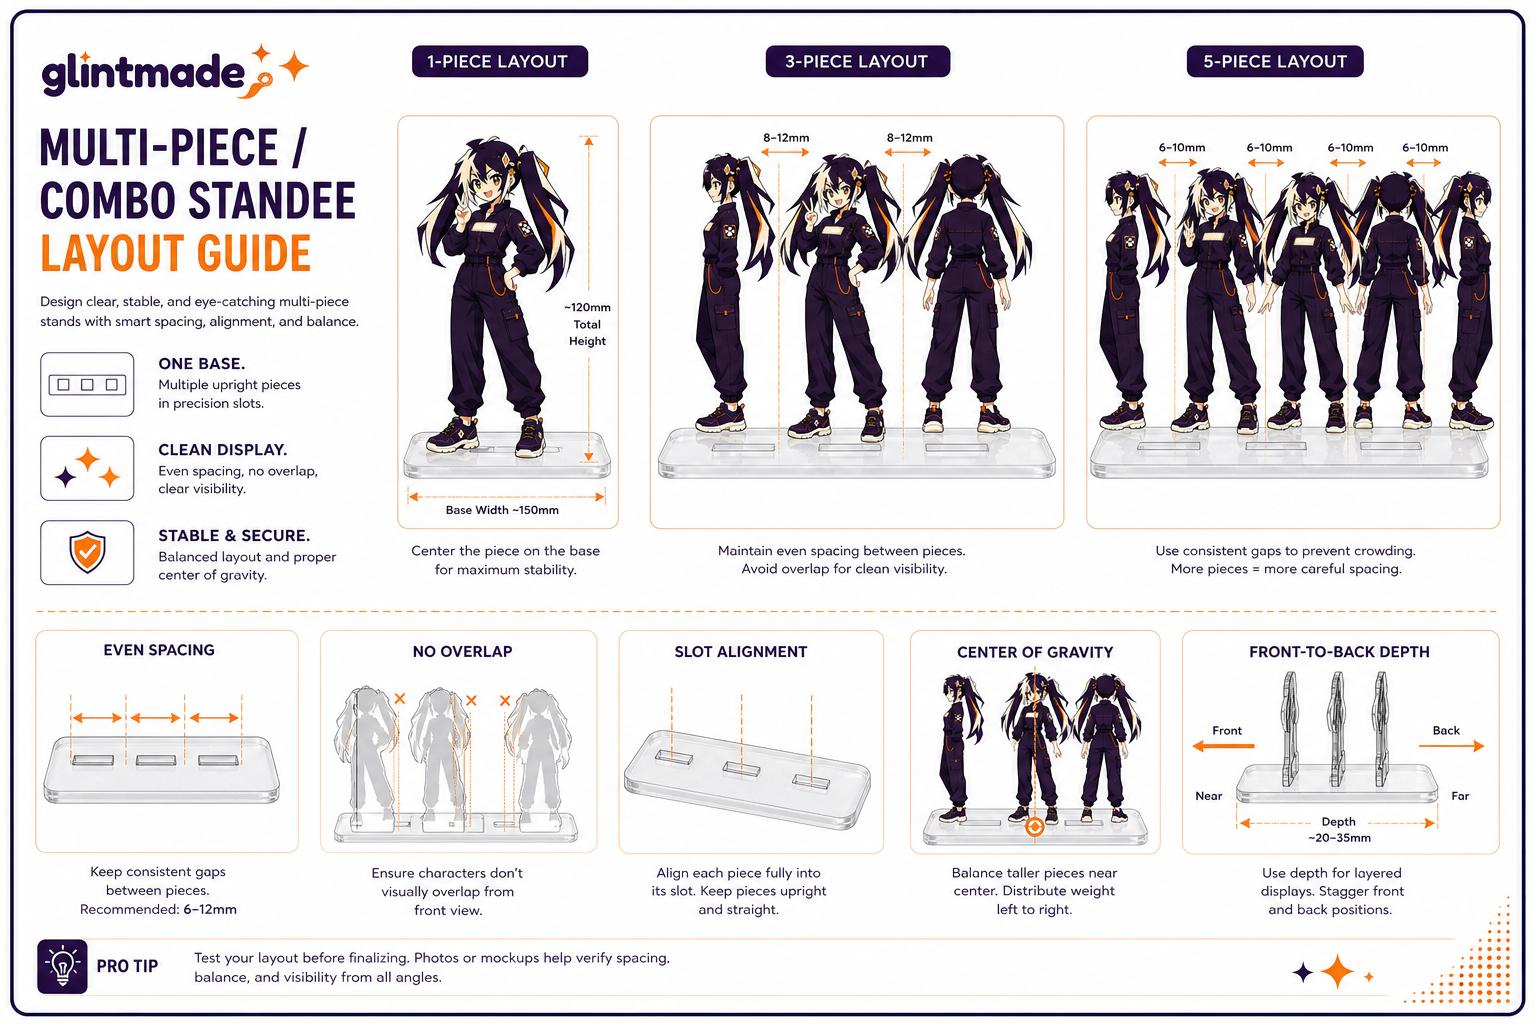
For a hypothetical scene with two uprights, draw both base positions and the gap between the characters in one review view. That communicates whether they should overlap visually or remain separated. It does not prove physical clearance or stability. Ask for the arrangement to be checked as a set, particularly if the base is being changed to fit a shelf or display area. Keep those space constraints in the brief rather than expecting the factory to infer them from the illustration.
04
Give the base enough footprint
Higher or wider uprights need a base that resists tipping. Multi-piece scenes also require spacing between slots so parts do not collide or hide one another.
05
Plan base artwork around the slot
Keep text and faces away from the slot and remember that the inserted upright can cover part of the printed base. Mark the intended front so orientation is unambiguous.
06
Review assembly before approving production
The proof should show tab position, slot position, material thickness and viewing direction. A physical sample is recommended for unusual heights, multiple uprights or weighted accessories.
- Assemble on a flat surface.
- Press straight and evenly.
- Never force an angled or obviously mismatched tab.
07
Engineer the standee upright and base together
A standee is a small assembly. The upright tab, base slot, material thickness, height and center of gravity determine whether it fits and remains standing. Do not resize a supplied tab or slot independently to make a layout look cleaner. If the artwork needs a different tab position, ask the production team to update the paired geometry so the physical fit remains intentional.
Place the support under the visual center of mass rather than the center of the canvas. Large hair, wings, props or an offset pose can pull the weight to one side. The base needs enough footprint to resist tipping and enough room for the slot without weakening an edge. In a multi-piece scene, also check that neighboring uprights do not collide, hide one another or make assembly confusing.
Design the base artwork around the slot and inserted tab. Important text should not disappear beneath the upright, and the intended front direction should be obvious. Review a full assembly proof showing upright, tab, base, slot and viewing direction. For unusually tall pieces, several slots or moving components, a physical sample answers balance and fit questions that a flat mockup cannot.
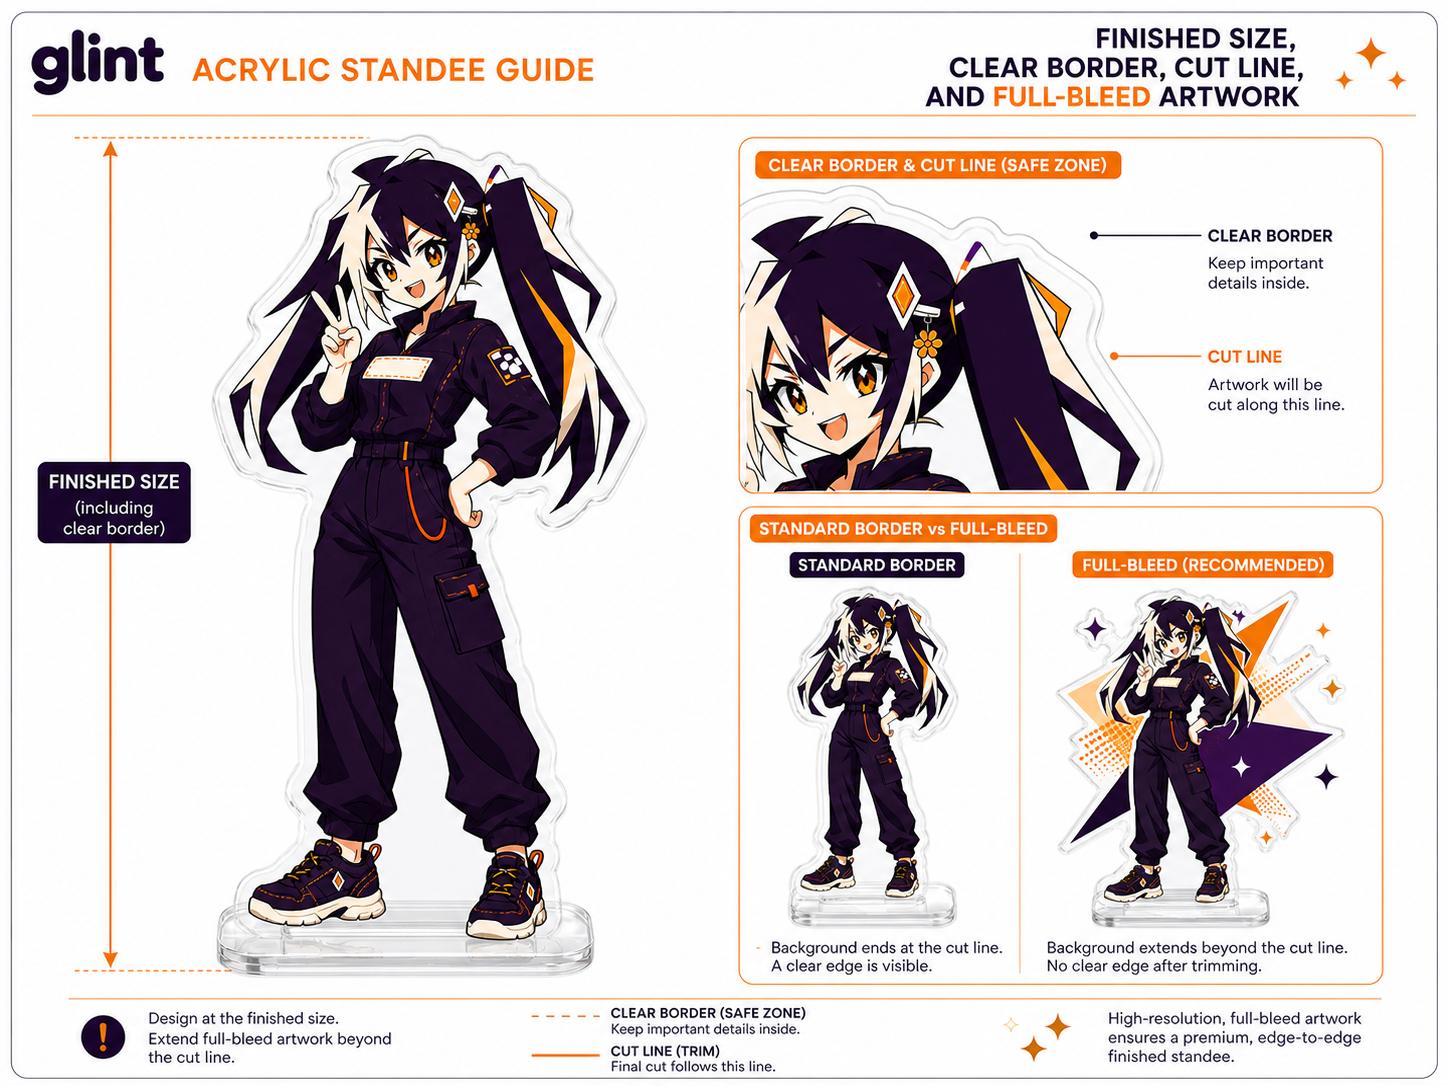
Printing, cutting, coating, sewing and assembly all have physical tolerances. The correct response is not to expect zero movement; it is to keep important information away from the areas where small movement becomes visible. Safe zones protect faces and text. Bleed protects edge-to-edge color. Generous material around a hole protects the connection. Clear spacing around a standee slot protects base artwork.
Tolerance becomes more noticeable when a design uses a very thin border, a perfectly concentric ring or a narrow color change at the cut edge. These features turn tiny shifts into obvious visual errors. If that precision is central to the concept, discuss it before quotation and test a sample. Otherwise, widen the border, continue the background color, or make the transition less dependent on exact registration.
Do not hide a tolerance-sensitive feature inside a generic note. Mark it on the art and in the brief, then look for it in the proof and sample. The production team can often suggest a safer construction, but only if the intention is visible early. Good production design accepts the behavior of the process and uses it as a constraint, just as editorial design accounts for trim and responsive web design accounts for different screen sizes.
08
Use samples to answer the expensive questions
A sample is most valuable when it tests a defined risk. For acrylic, that risk may be white-ink opacity, a standee's balance or the interaction between two effect layers. For stickers, it may be adhesion, laminate glare or the readability of a small cut. For canvas, it may be print color, hand feel or placement across a textured surface. List the questions before ordering the sample so approval is based on evidence rather than a general impression.
Review the sample in the way customers will use it. Attach a keychain to the intended bag, assemble and disassemble a standee, apply a sticker to a representative clean surface, or carry and fold a tote. Photograph the approved sample in neutral light and measure the details that matter. Note whether protective film has been removed; acrylic can look cloudy or scratched while transport film is still present.
Classify findings as artwork changes, production changes or acceptable variation. If a line is too thin, revise the art. If a slot is difficult to assemble, ask the factory to review fit. If a subtle color shift is acceptable on natural fabric, record that tolerance. A sample only improves the next batch when its decisions are written into the specification and linked to the final revision.
09
Document an assembly trial
When a sample is part of the order review, define the questions before opening it. Confirm which upright and base versions are being evaluated and whether they represent the intended material and construction. Record the parts received, the assembly direction and any instructions supplied. A mixed pair from different revisions cannot provide a useful approval reference for the final set.
Assemble the sample according to the provided instructions on a suitable level surface. If something does not fit as expected, stop and document the condition rather than forcing, cutting or modifying the parts and then treating the result as approved. Photograph the pairing and describe the issue in terms the production team can check: which components, which direction and which revision. Ask for the appropriate resolution for that construction.
After a correction, review the assembled result as well as the changed component. Moving a slot or changing a tab can affect the printed base, the viewing direction and the way the upright sits. Keep the final assembly record with the approved proof and packing instructions. For reorders, identify that approved combination explicitly and recheck any later material or dimensional changes instead of relying on the phrase same as before.
Separate an observation from a proposed solution when reporting a sample. For example, record that the identified upright did not seat as expected in the identified base when following the supplied instructions. Do not immediately turn that observation into an instruction to enlarge a slot or reduce a tab; the production team needs to determine the appropriate change for the actual construction.
Ask how the proposed correction affects the full set. A replacement base may change the visible artwork area or the intended position of multiple uprights. Confirm whether a new proof or another sample is required and identify the version that resolves the issue. Keep photographs of the original condition and the accepted result together, clearly labeled, so old and corrected parts are not mixed during later reviews. For an order with several similar characters, record the affected design IDs rather than applying one finding to every assembly without checking.
- Upright and base design IDs
- Template and sample revisions
- Assembly instruction and orientation
- Observed fit or balance questions
- Written acceptance of the corrected combination
- Keep unapproved or mismatched sample parts clearly separated from the accepted assembly reference.
FAQ
Frequently asked questions
Can I reuse a base from another standee?
Only after the relevant dimensions, material, tab/slot relationship and viewing direction have been confirmed. Similar-looking parts or the same character artwork do not establish that the assemblies are compatible.
Should I force a tight sample into the slot?
Follow the supplied assembly instructions. If the parts do not fit as expected, stop and document the pairing for the production team. Modifying a sample can obscure the issue and does not validate the original construction.
Does a larger base automatically solve balance?
Do not treat footprint alone as proof of a successful assembly. The upright’s geometry, support position and construction interact. Review the proposed arrangement and use a suitable physical sample when the result remains uncertain.
Can the artwork cover the slot?
The printed design should account for the physical opening and the upright after assembly. Show what must remain visible and confirm the intended arrangement in the proof rather than judging the base as a flat image alone.
What should I keep for a repeat order?
Keep the paired upright and base files, template version, approved proof, any accepted sample record and packing instructions. Identify changes to dimensions, material or assembly as new review items.