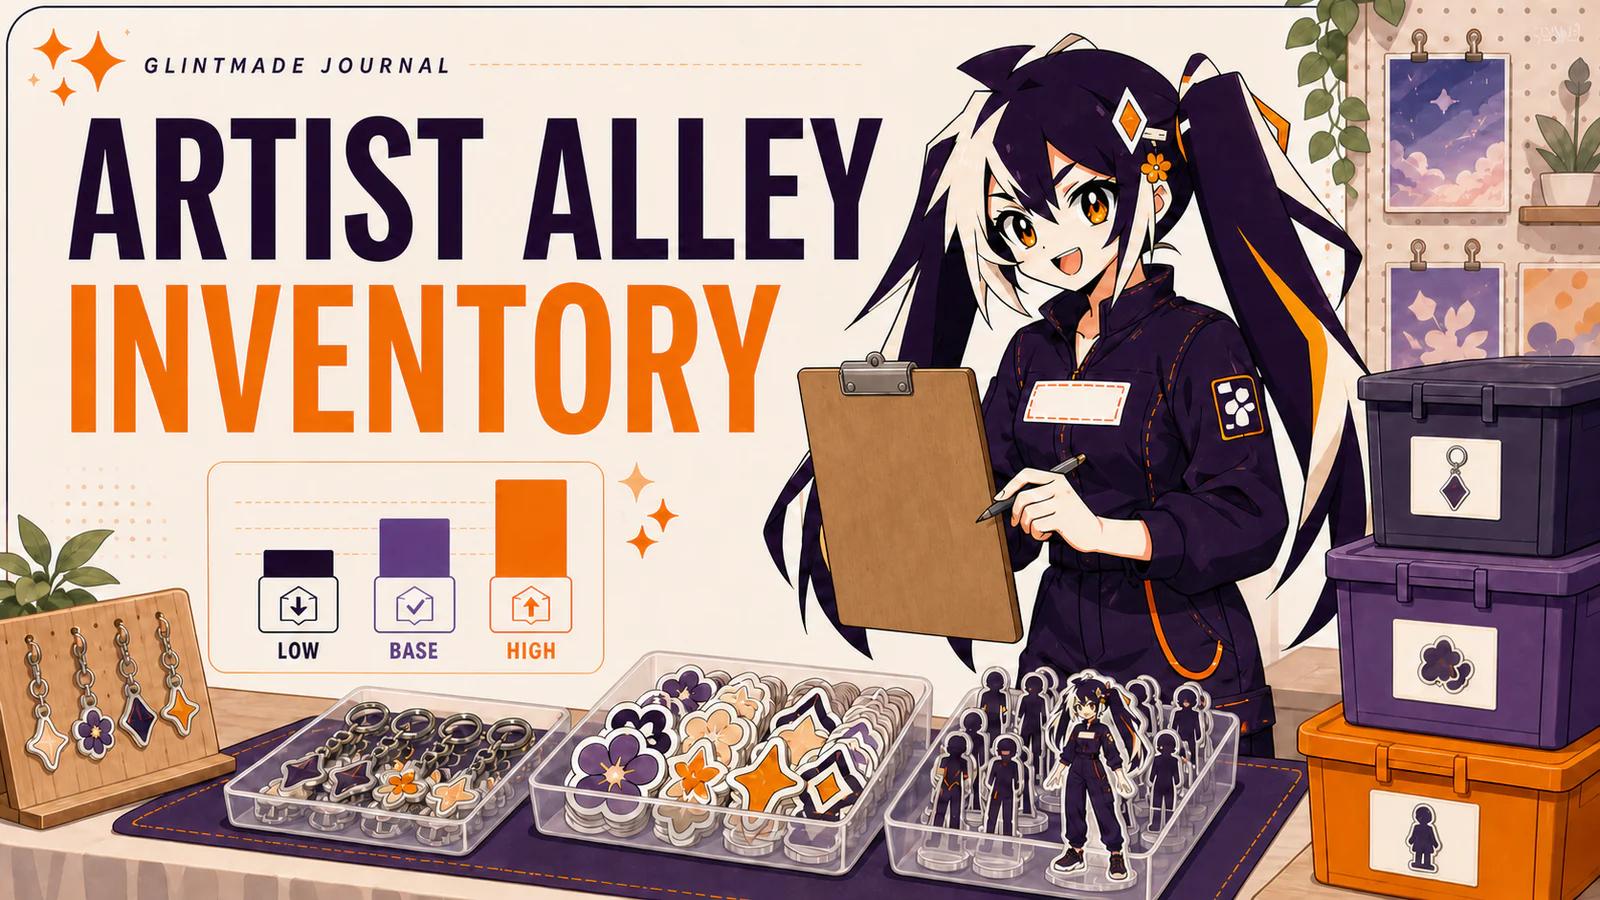
Inventory should be a testable business decision, not a guess based on convention attendance. A cautious plan starts with the number of transactions your table can realistically win, then divides units across price points and designs.
Estimate transactions rather than total attendance, multiply by expected items per order, add a small operational buffer and keep most units in proven or versatile designs. Use smaller runs for new characters, expensive products and uncertain formats.
01
Key takeaways
Use these decisions to guide the detailed checks below.
- Start from plausible transactions and items per order, not total event attendance.
- Separate proven designs, experiments and display samples.
- Count packs, sets and loose pieces in the units you will actually sell.
- Set a cash and leftover-stock limit before choosing quantities.
- Use the event record to improve the next order rather than treating one weekend as a universal forecast.
| Role | Planning basis | What to track |
|---|---|---|
| Proven design | Your relevant previous sales and current demand signals | Available stock and sell-through |
| New design | A limited test with an explicit downside | Interest versus actual purchases |
| Accessible add-on | How it fits the customer’s basket | Units sold with other products |
| Display/sample | What is needed to show the range | Separate from saleable stock |
02
Start with transactions, not attendance
A large convention may report tens of thousands of visits, but only a fraction pass your aisle, stop at the table and purchase. Use your own past table traffic when available.
For a first show, build a low, base and high scenario instead of one confident forecast. The base case should be financially survivable if demand is lower than hoped.
Use evidence from the closest comparable selling situation you have. A local market, online launch and large convention may differ in audience, time available and how customers encounter the table. Keep the observation and your assumption in separate columns. If you have no comparable event, say so and treat the first order as a controlled test rather than borrowing another artist’s results as your own forecast.
Write a low, central and high transaction scenario. These are planning assumptions, not predictions. For each, consider how long the table is open, whether one person can handle the expected orders and which products the audience is likely to understand quickly. A larger convention may offer more potential visitors without increasing the share who stop, browse or buy from your particular table.
03
Give every product a role
Low-price stickers or mini items can create an accessible first purchase. Keychains and charms often carry the main character assortment, while a standee or bundled set can serve as a higher-value anchor.
Too many formats spread cash and design attention thin. A focused table usually reads more clearly than a collection with one unit of everything.
Give the range a clear purchasing path. A hero item may establish the visual identity, while a simpler item lets a visitor make a smaller commitment. A complementary product should add a distinct use or presentation rather than repeating the same decision at another price. Use actual quotations and your selling plan to evaluate the mix; this guide does not assume a standard margin or a fixed winning product.
Keep display units and samples separate from saleable inventory. If one item must remain on the table so customers can inspect it, do not count it as freely available stock throughout the day. Likewise, set aside any units reserved for preorders, collaborators or giveaways before deciding how much is available to walk-up customers.
- Entry product: easy first purchase
- Core product: main repeatable seller
- Hero product: visual anchor and higher-value option
- Bundle: raises order value without adding another design
04
Allocate stock by design confidence
Put more depth behind characters or designs with prior sales evidence. New art can receive a smaller test quantity until the audience proves demand.
Do not divide every quantity equally just because the production order contains equal-looking files. Demand normally follows a curve, not a flat line.
Distribute inventory by design confidence rather than dividing the budget equally. Confidence can come from relevant past transactions, explicit customer requests or a small prior test, but document which signal you used. Social reactions can be useful for choosing what to test without proving that the same number of people will purchase it at the event.
Choose what a successful test would teach you. For a new character, that might be whether customers recognize the concept, which format they pick, or whether the displayed price changes interest. Keep the initial choice simple enough that you can interpret the outcome. Launching every artwork in every size and finish at once can leave you with many weak signals and difficult-to-reuse leftovers.
05
Use a simple planning formula
Planned sellable units equal expected transactions multiplied by expected items per transaction, plus a buffer for damage, display and forecast error. Then distribute those units across products and designs.
For example, a base case of 120 transactions at 1.4 items per transaction suggests 168 sellable units before buffer. This is an illustration, not a universal benchmark.
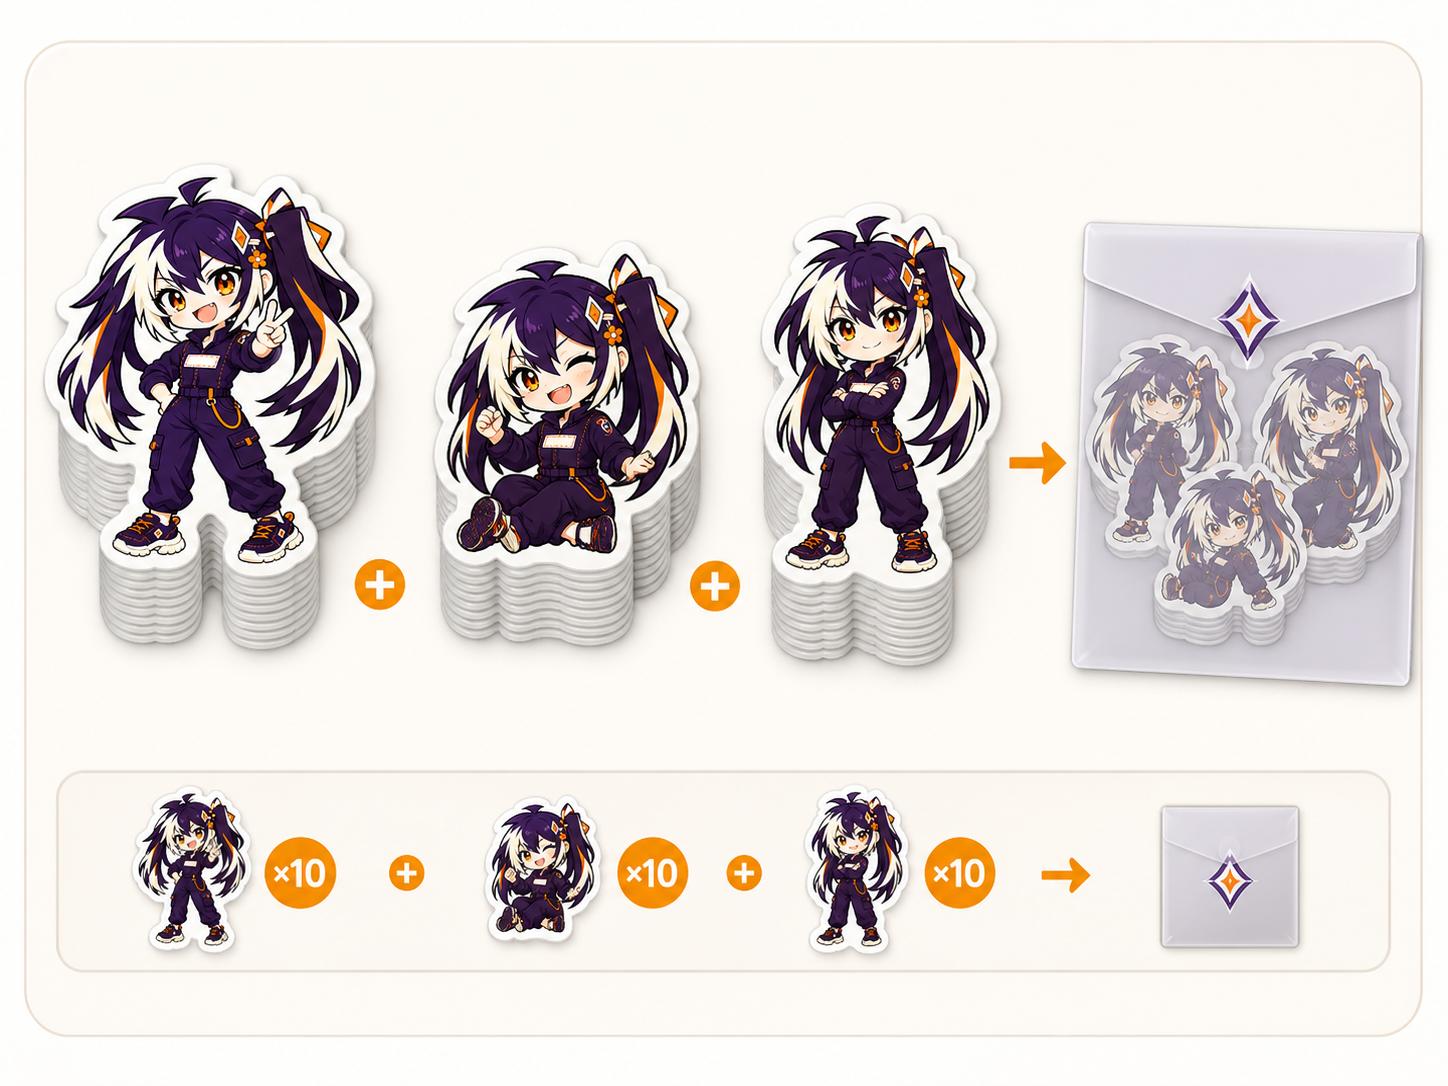
Here is a hypothetical arithmetic exercise, not a sales forecast or purchasing recommendation. If you assume 40 transactions and 1.5 saleable items per transaction, the scenario calls for 60 items before any chosen buffer or reservations. Define whether an item means a piece, a complete set or a retail pack. A pack containing three stickers is one saleable pack in this calculation, while its production manifest still needs the three components.
Repeat the calculation for your low and high scenarios. Then ask whether the resulting design mix fits your cash limit, luggage capacity and ability to sell leftovers later. If it does not, adjust the assortment or the risk limit instead of treating the central scenario as an instruction to buy. Keep every assumed rate visible so the next event can replace it with a better observation.
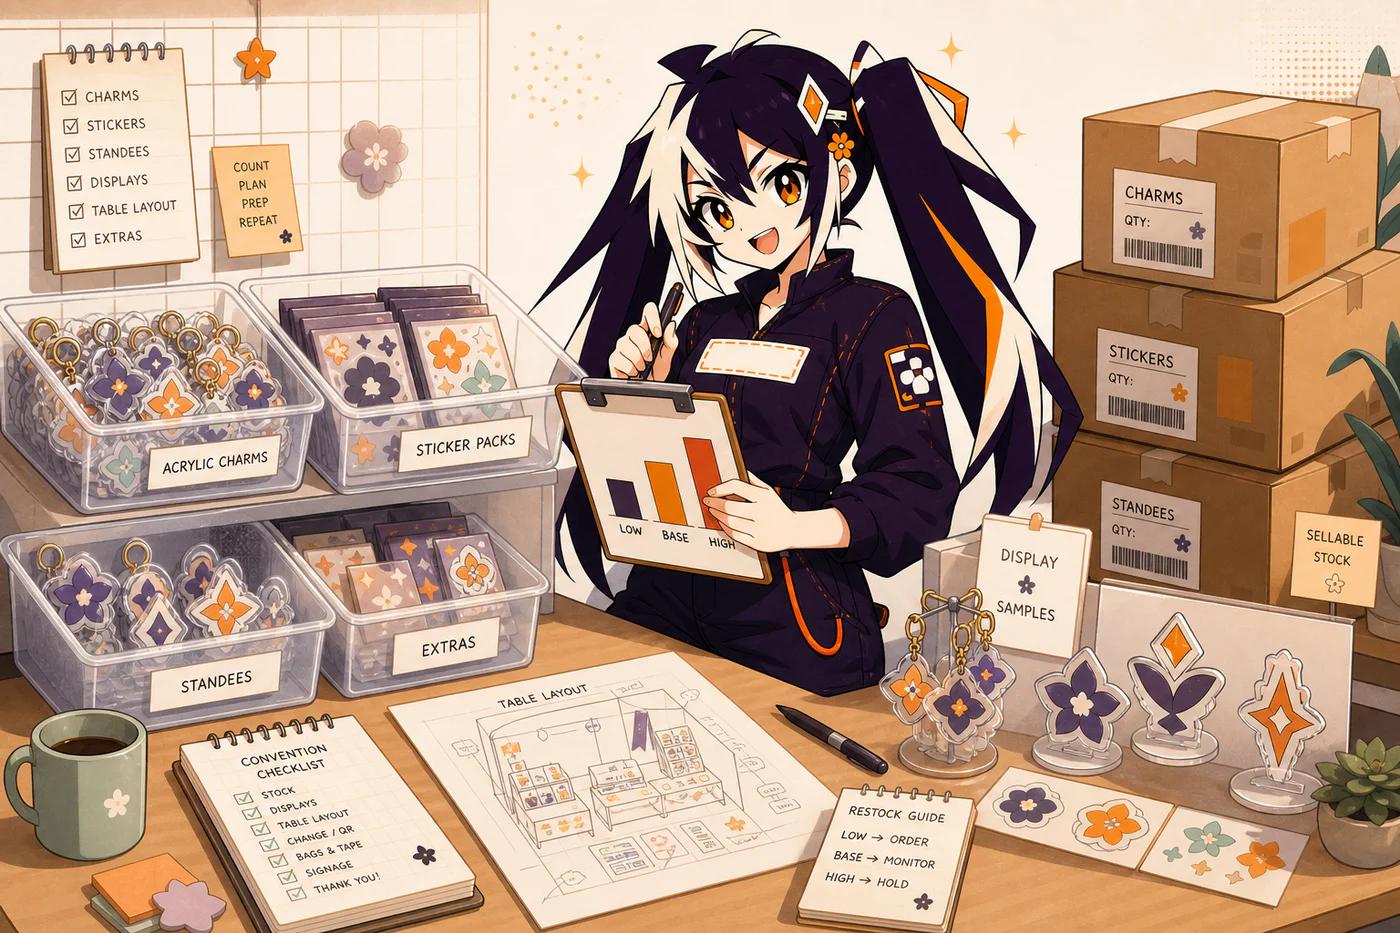
- Low case: protects cash
- Base case: drives the purchase order
- High case: defines a reorder or sell-out plan
06
Balance unit cost with leftover usefulness
Leftover evergreen original-character stock can continue selling online or at the next show. Date-specific items and event-exclusive text have less reuse value and deserve a more cautious quantity.
Include freight, packaging, payment fees and table costs when deciding whether a low unit cost actually improves the event economics.
Compare the total commitment, not just unit price. Include the quoted products, agreed packing, shipping and the other event costs relevant to your decision. Obtain current figures for the actual order rather than filling gaps with another supplier’s offer. Keep uncertain costs visibly uncertain until they are confirmed, especially when the delivery destination or assortment is still changing.
Consider the usefulness of unsold units. An evergreen original design may fit later events or an online store, whereas a date-specific item may have fewer opportunities. That does not make one choice automatically right; it changes the downside you are accepting. Decide in advance how much unsold stock you can store, handle and realistically offer again.
07
Track inventory at design level
Use one row for every product-design combination and record opening stock, restocks, damaged units and closing count. That turns the next order into an evidence-based decision.
Keep display samples distinct from sellable inventory so the count does not drift during setup and teardown.
Create one row per sellable design and variant. Record opening stock, units added during the event, units sold, units removed for another reason and closing stock. Keep bundled sales and loose sales distinguishable so you do not double-count the same pieces. Reconcile the record while the event is still fresh enough to explain discrepancies.
Also record stockouts and time on display. A design that sold every available unit early cannot be compared directly with one that remained available all weekend. Note whether a product was hidden behind other displays or introduced late. These observations help you interpret the numbers without inventing demand that the event did not actually measure.
08
Work backward from the date you need inventory
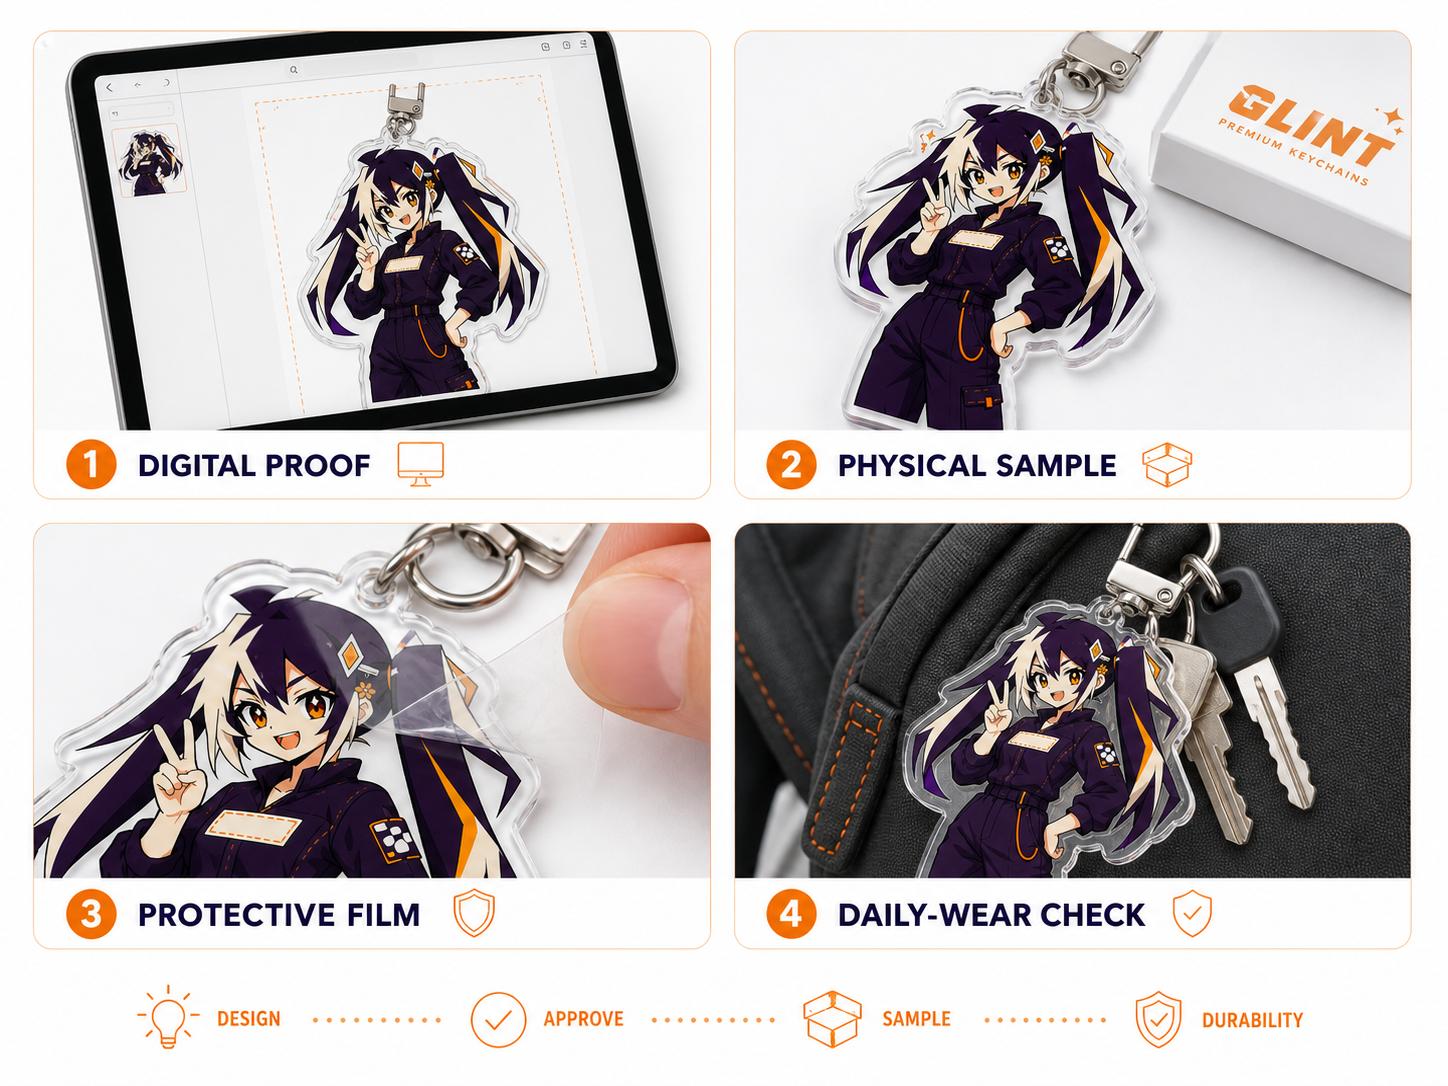
Use the required arrival date as the planning anchor, then ask the supplier to review feasibility for the actual products, quantities and destination. Include time for your own artwork preparation, proof decisions, any agreed sample, receiving checks and table preparation. Do not substitute a generic online production estimate for confirmation of the current order.
Keep an alternative plan for items that are not yet confirmed. You might reduce the range or take an already approved design, but make that choice before the last moment. A stock plan that depends on an unresolved artwork or assembly question is not fully ready merely because the quantities have been calculated.
09
Turn the event record into the next order
After the event, separate observation from interpretation. Record what sold, what remained, which designs were unavailable and which customer questions repeated. Compare the outcome with the original scenarios and identify the assumption that mattered most. A single weekend can suggest a next test, but it should not be treated as a permanent demand rate.
Choose a small number of changes for the next order: replenish a proven design, revise a weak format, improve the display or test a new character. Keep the reasoning beside the quantity decision. This gives the next event a clear question to answer and avoids turning every disappointing result into a larger inventory purchase.
FAQ
Frequently asked questions
How many pieces should I bring to my first Artist Alley?
There is no reliable universal count. Start with explicit transaction scenarios, the number of items per sale, your assortment and the stock you can afford to keep. Use the first event to gather design-level evidence.
Should I order the same quantity of every design?
Only if your evidence and risk preference support that choice. Proven designs and new experiments serve different roles. Record why each quantity was chosen instead of dividing the total equally by default.
Do likes and followers predict event sales?
They can help identify interest, but they are not the same as transactions at a specific event and price. Keep them as a signal for a test rather than translating them directly into a purchase quantity.
How do I count a sticker pack?
Track finished packs as the saleable item and list the component designs in the production manifest. Keep any loose pieces outside those packs in a separate allocation.
What should I send to get the production plan checked?
Send the product and design list, quantities with units, artwork status, packing arrangement, destination and required arrival date. Identify anything still provisional.