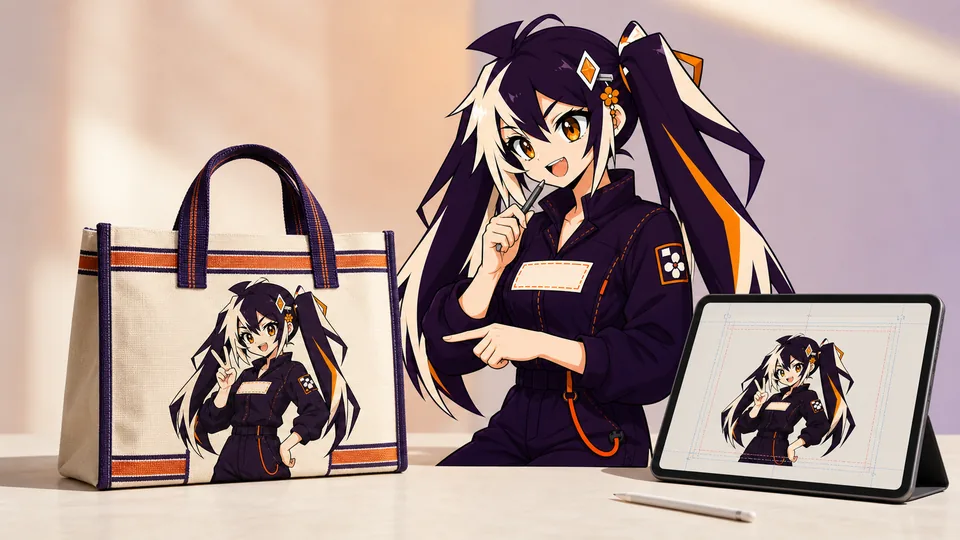
Canvas is textured, absorbent and usually warmer than a white screen. A strong tote-bag file therefore combines clean artwork with explicit instructions for size, placement, color and printing method.
Confirm the printable panel, supply artwork at the intended print size, follow the file and color workflow requested for the job, and approve placement on the selected bag. Use a physical sample when fabric color, texture or fine details remain important unresolved questions.
01
Key takeaways
Use these decisions to guide the detailed checks below.
- Confirm the printable panel on the selected bag before placing artwork.
- Record physical print size and position, not only the image file dimensions.
- Use the file and color workflow requested for the actual job.
- Test fine detail against fabric texture and background color.
- Approve the export, placement and any color-critical sample together.
| Input | Why it matters | Record in the brief |
|---|---|---|
| Bag construction | Seams, handles and closures constrain placement | Selected product and view |
| Print artwork | The design must remain readable on fabric | Export version and physical print size |
| Color intent | Screen appearance is not a fabric reference | Priority colors and reference method |
| Placement | The image needs a measurable position | Panel, orientation and location reference |
02
Confirm the printable area before designing
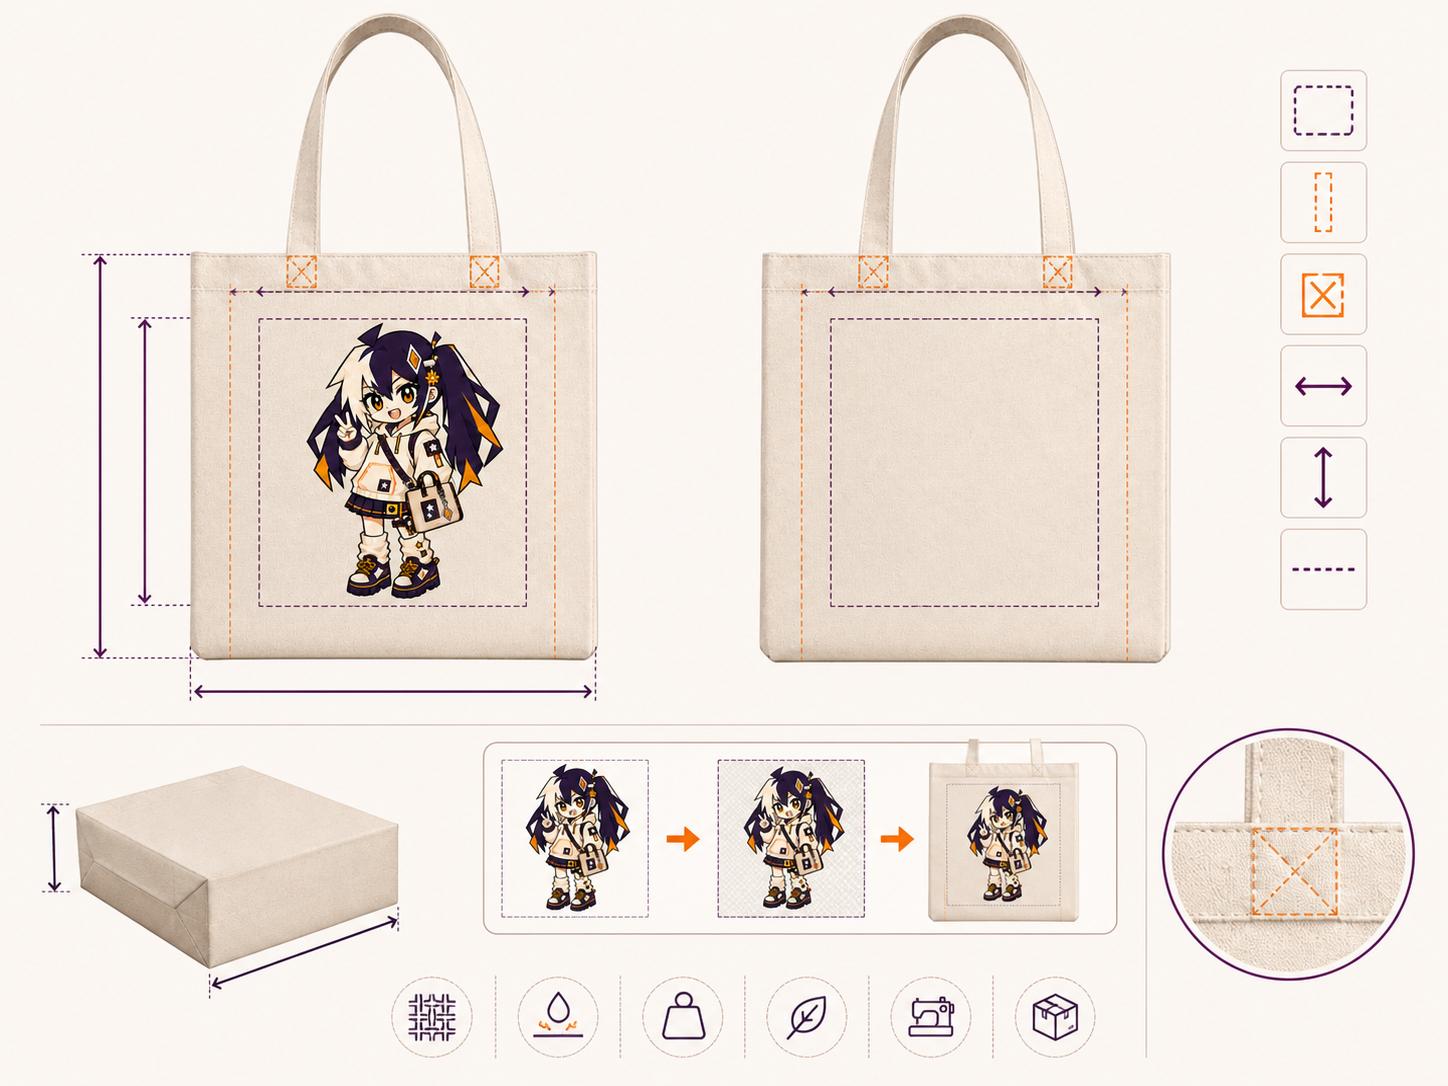
Bag dimensions are not the same as printable dimensions. Seams, pockets, gussets and handle stitching create no-print zones. Use the product template and state whether the placement is measured from the bag edge or the printable-area center.
Treat the printable area as a property of the selected construction, not as the entire rectangle visible in a product photo. Stitching, folded edges and hardware may affect where artwork can be placed. Obtain the current placement reference for the chosen bag and keep it with the order. If the construction changes, revisit the layout rather than applying the previous print width automatically.
As a planning exercise, compare a wide wordmark with a compact emblem on the same bag outline. The wordmark may need more uninterrupted horizontal space, while the emblem may allow a different position. Neither option is inherently the correct size. Print a physical paper version and assess legibility while viewing the bag as it will be carried or displayed. Then ask the production reviewer to confirm which of those placements is feasible.
03
Prepare a clean production file
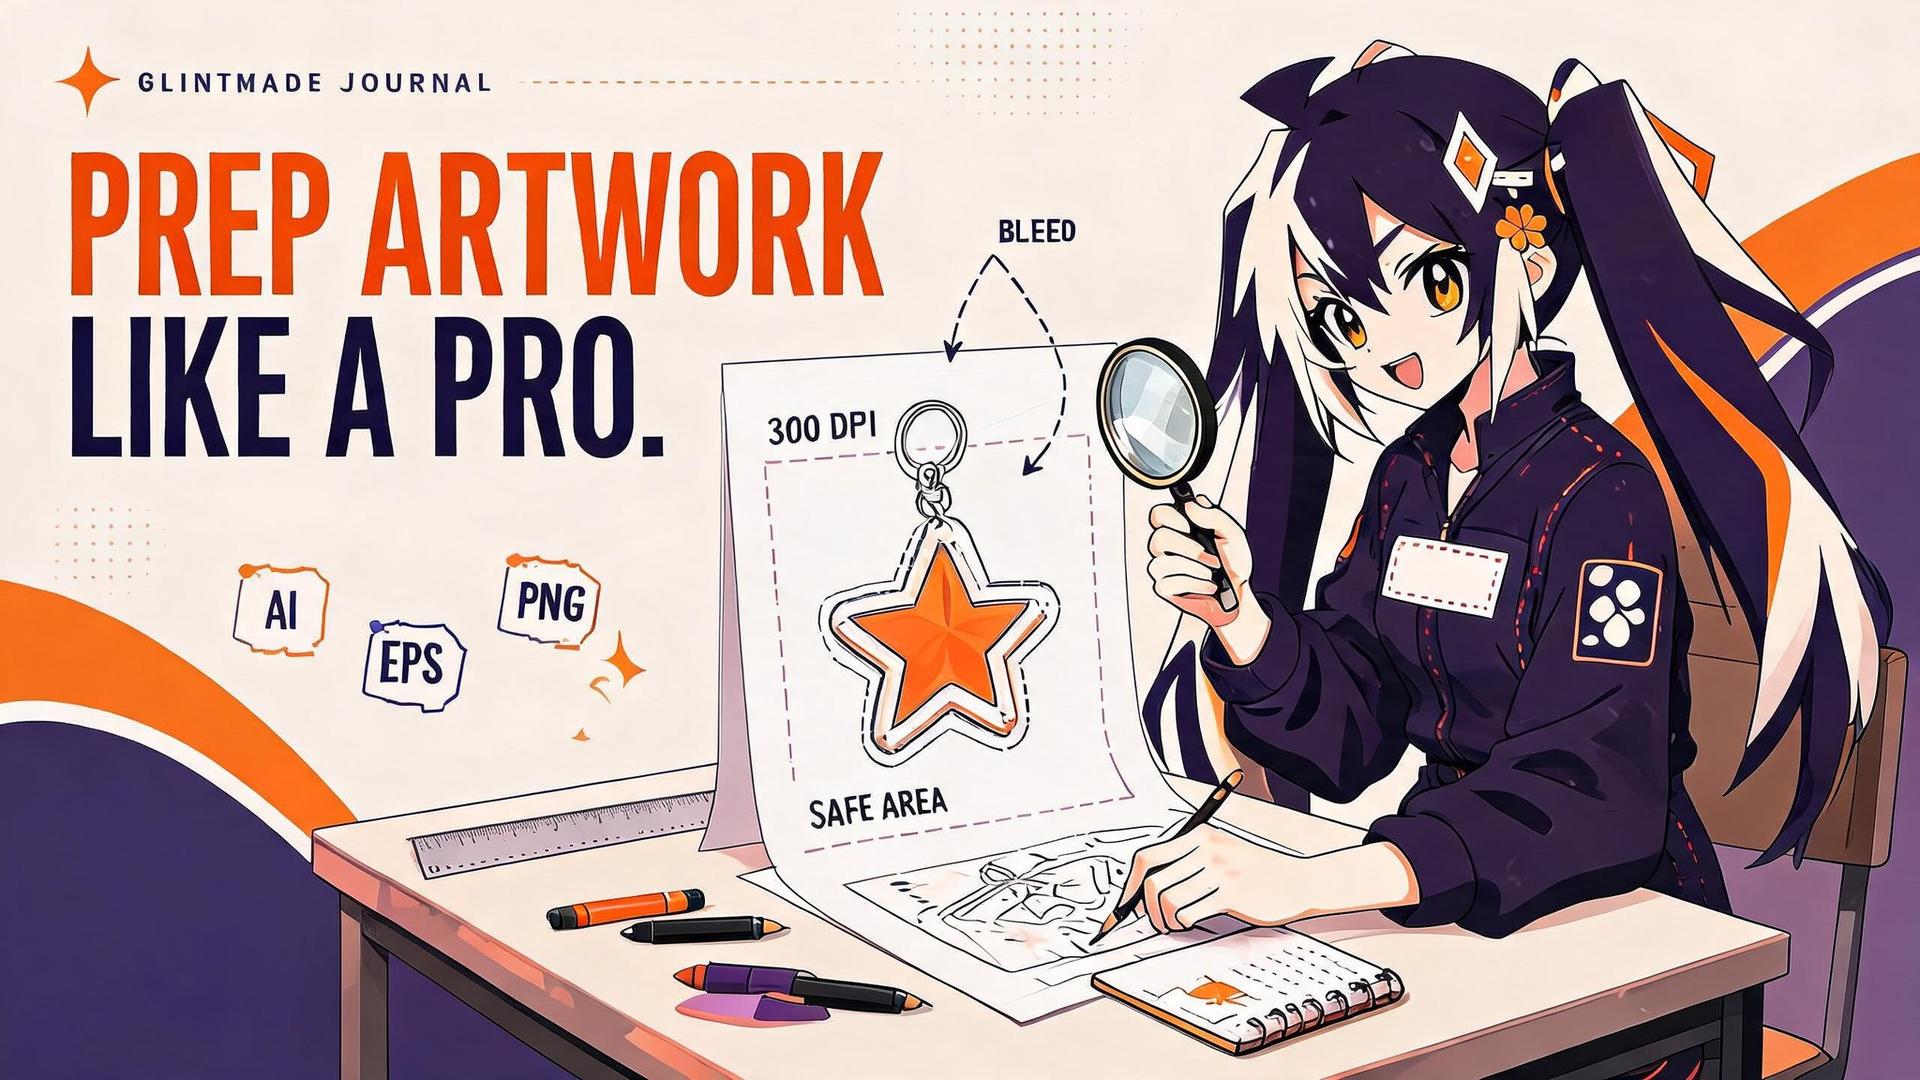
Prepare artwork at the intended physical output size and follow the file type, resolution and color workflow requested for this product. Keep the editable original and identify any color-critical details. A resolution label, color-space conversion or screen preview alone does not establish the accepted physical result.
- Outline fonts or supply approved vector text.
- Remove hidden backgrounds and unused layers.
- Include design name, quantity and placement in the filename or order note.
04
Build color for fabric, not a glowing screen
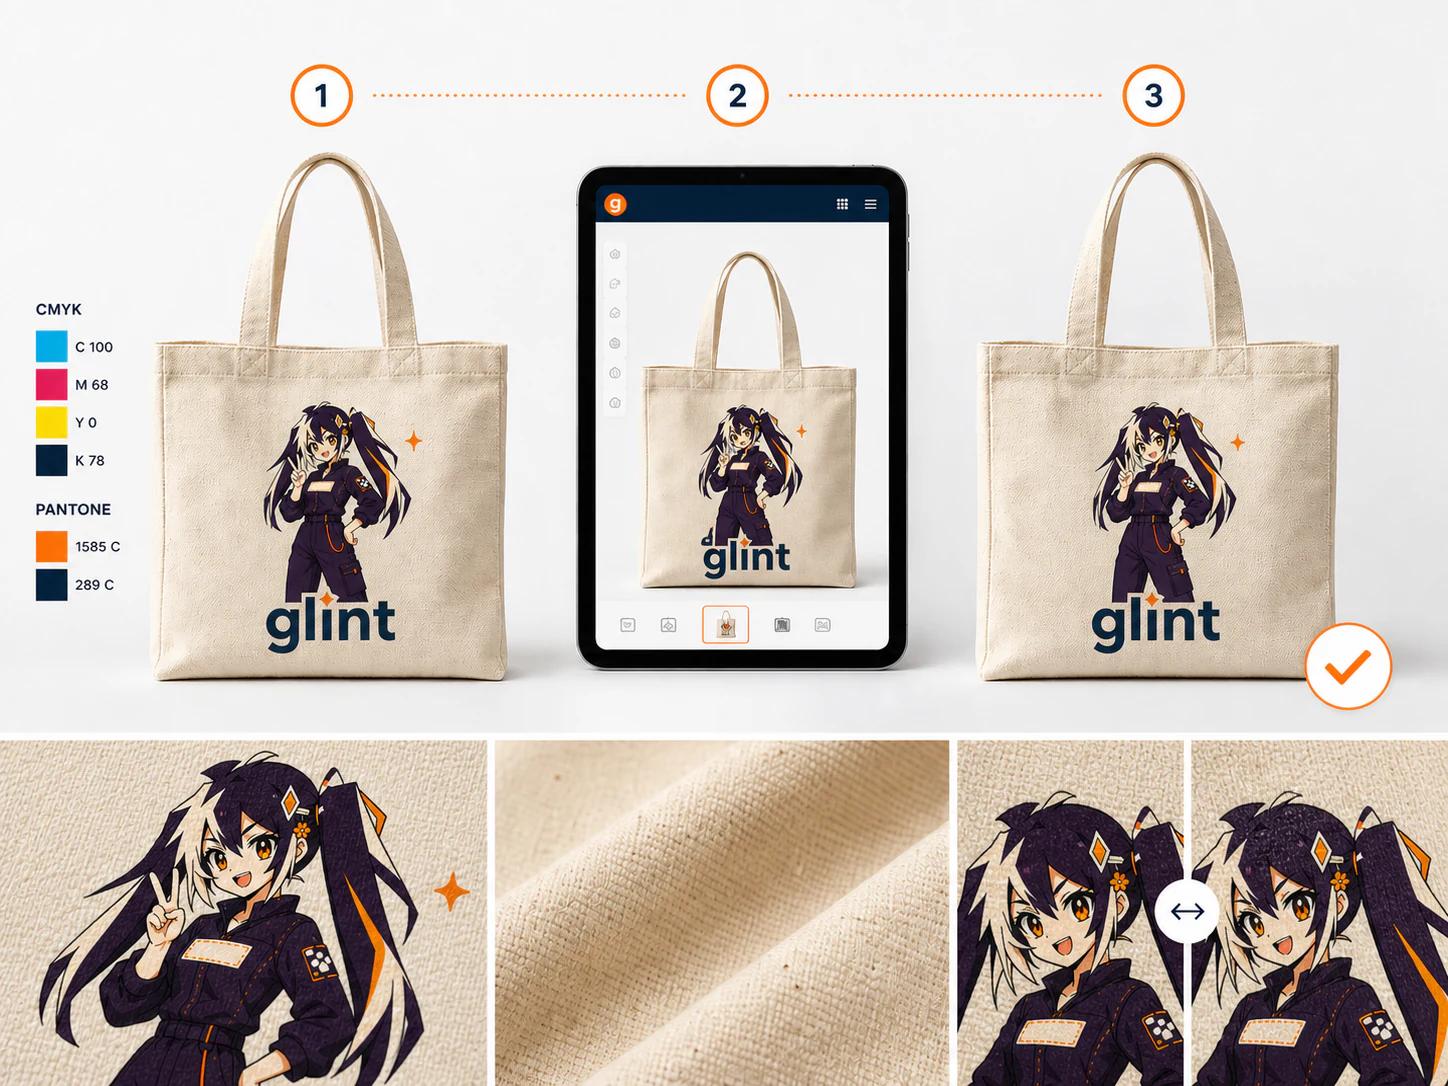
Identify the fabric color and printing process before approving color-critical artwork. An off-white woven surface can change the visual result compared with a bright monitor preview. Keep the editable original, record the requested color workflow, and evaluate a physical sample when the remaining question depends on the actual fabric rather than the file layout.
05
Adapt fine detail to the weave
Very small type, hairline strokes and subtle gradients can break across the fabric texture. Enlarge critical lines and preserve contrast around facial features or logos.
06
Approve size and position together
A centered mockup is not enough. Check printed width, distance from seams, orientation, color intent and whether the artwork remains visible when the bag is carried or filled.
- Review the digital proof at actual dimensions.
- Request a sample for color-critical orders.
- Keep the approved placement notes for repeats.
07
Build a file that can survive production changes
Vector artwork is ideal for logos, type, cut paths and flat graphics because it can scale without softening. Raster artwork is entirely workable for painted illustrations, provided it is created at the requested output size with enough pixel data. A common production target is 300 pixels per inch at final size, but the important habit is to confirm the supplier's current requirement and never enlarge a small downloaded image just by changing its resolution label.
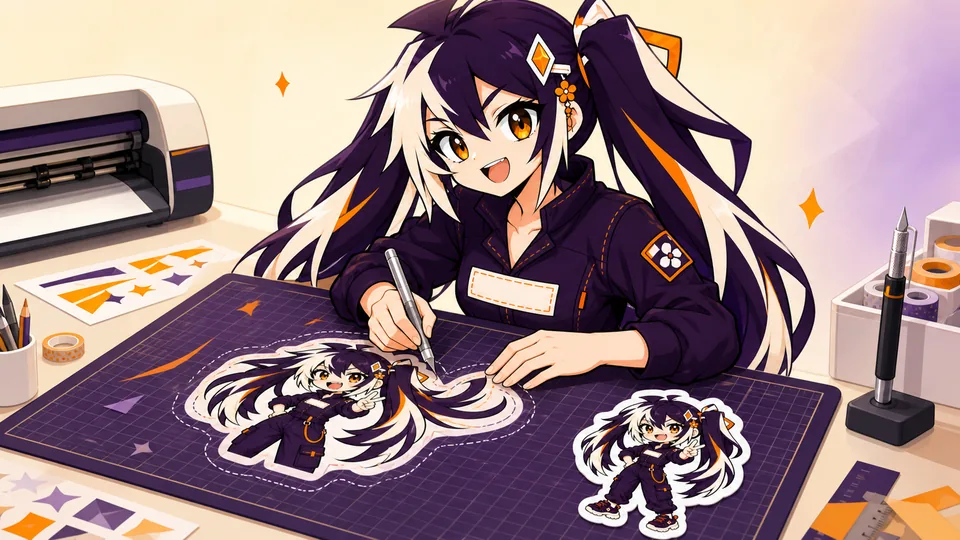
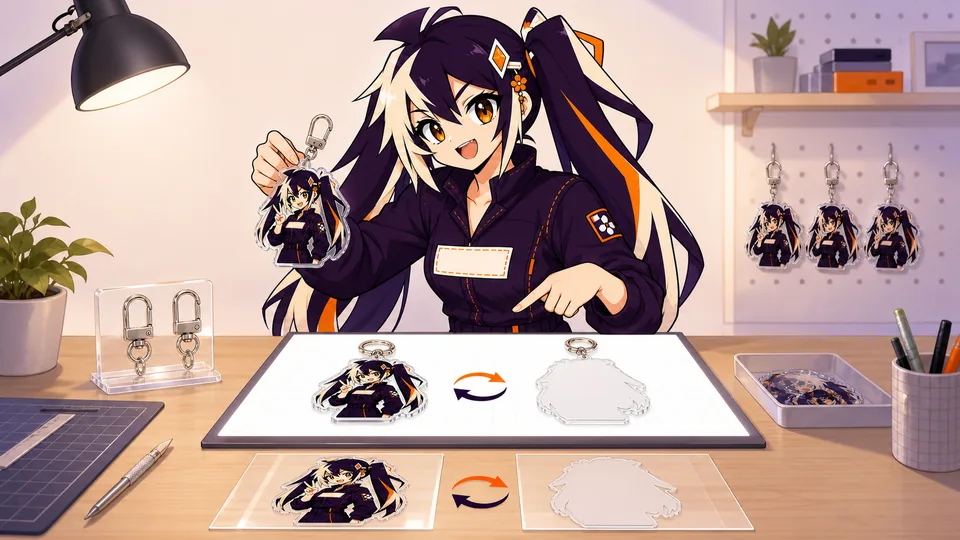
Keep the working file layered until the proof is approved. Separate front art, back art, white ink, transparent windows, effect masks, cut guidance and notes. Name layers for what they do rather than leaving a stack of 'Layer 17 copy'. Clean files let the production team correct a contour or inspect a transparency without rebuilding the entire design. They also make later variants safer because the original print art remains untouched.
Export a review file and preserve the editable master. The review PDF or PNG should show what you expect to see, while the master PSD, AI or equivalent carries the production structure. Outline fonts when licensing allows, embed linked images and remove accidental hidden objects. Before upload, reopen the exported file on another device to confirm that transparency, color, dimensions and orientation survived the export process.
A bag's outside dimensions are not its printable dimensions. Seams, gussets, pockets, handle stitching, folds and reinforced panels create areas where printing may be impossible or inconsistent. Use the current product template and ask how placement is measured. 'Centered on the bag' and 'centered in the printable area' can produce different results when construction is asymmetric.
Fabric choice changes the visual base. Natural canvas has a warm tone and visible weave; dyed canvas may need an underbase for opacity; lighter or more flexible fabrics can show the contents or fold through a large print. Review material weight, texture, lining and structure in relation to the actual use. A bag meant to carry books has different construction priorities from a lightweight event giveaway.
Mark finished print width, height and reference position on the proof. Check the artwork with the bag both flat and filled, because handles and folds change what is visible. Keep critical text and faces away from seams and high-flex zones. For designs that cross pockets or panels, confirm that the selected print process and factory setup can maintain acceptable alignment before finalizing the composition.
- Use vector art for scalable type, logos and paths.
- Prepare raster artwork at final size and the requested resolution.
- Keep an editable layered master plus a simple visual reference.
08
Choose a print method that matches the artwork
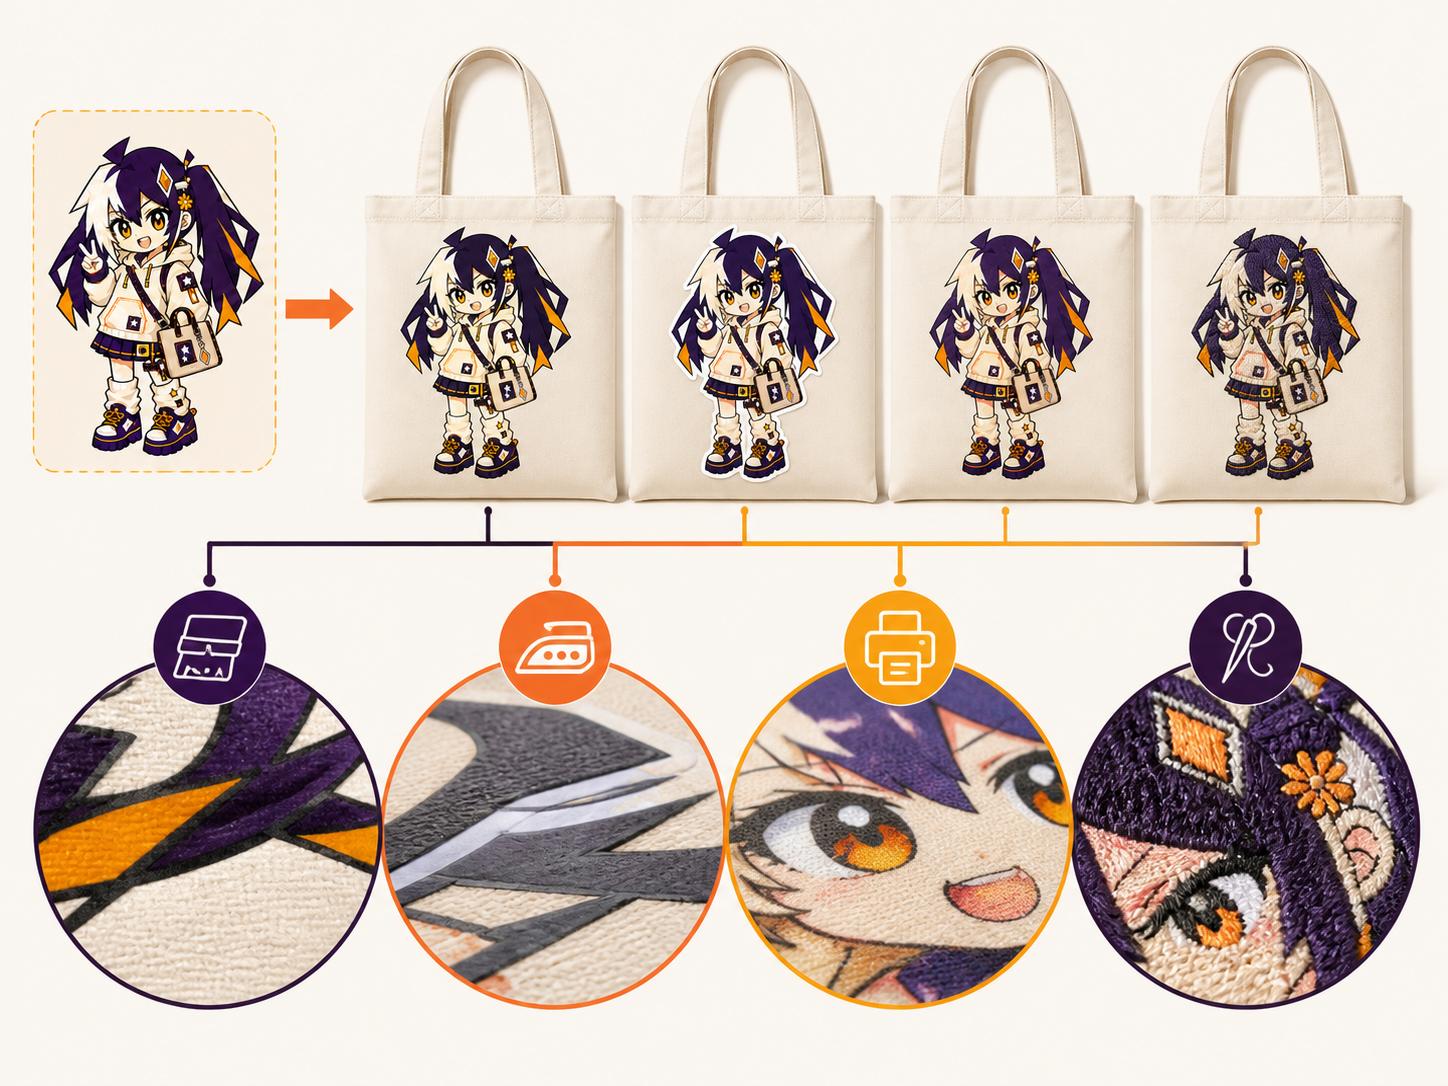
Different print methods favor different artwork. Solid spot colors and bold logos may suit one process, while detailed full-color illustration or small-run personalization may suit another. Ask the factory which method is planned before building a design around transparent gradients, extremely fine halftones or a texture the process cannot reproduce consistently.
Prepare the file for the chosen method. Vector shapes and defined spot colors are useful for simple graphic printing. Full-color processes need clean raster detail at output size and may use a white underbase on dark fabric. Transfer-based methods can produce strong detail but create a different surface feel from ink that interacts more directly with the fibers. Decide whether visual accuracy, softness, durability, order size or color count is the leading priority.
The proof should state print size, placement, method and color intent together. A digital mockup cannot show hand feel or fabric absorption, so request a sample when those qualities matter. Save the approved method with the artwork and material reference. Switching methods on a reorder while keeping the same image can change color, texture and edge behavior enough to make the new batch look like a different product.
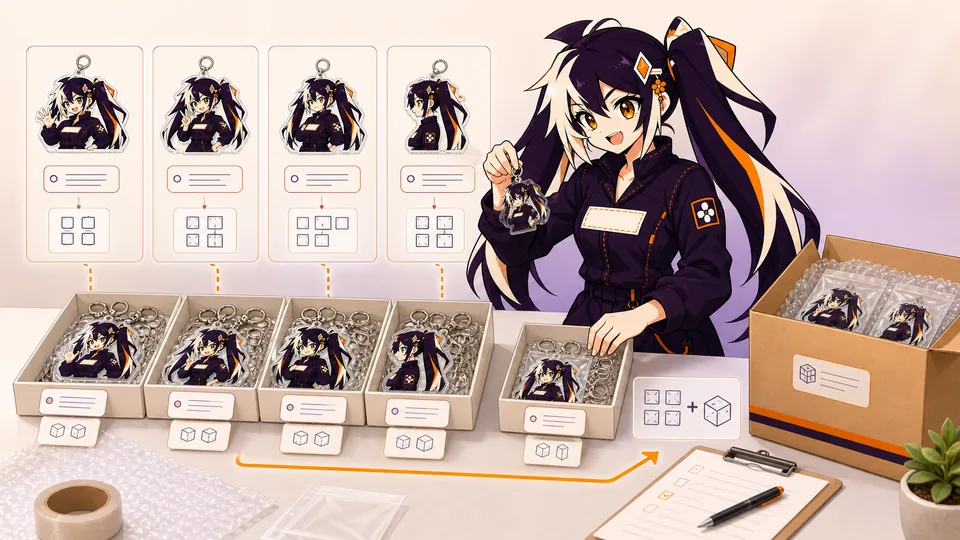
A multi-design order becomes risky when the files, cart quantities and packing labels use different names. Give every sellable design a short stable ID, then use that ID in the artwork filenames, order manifest, proof comments and packing specification. 'GM-KC-014_front.psd' can be traced. 'final-new-2.psd' cannot. Stable names matter even on a small order because the same design may return months later as a different size or finish.
The manifest should use one row per product variant. Record design ID, product type, finished size, material, finish, front/back structure, accessory, quantity and packing. If most designs share a specification, state the default once and list exceptions in their own rows. Do not provide only a grand total; production and packing need a quantity assigned to every individual design.
Version the manifest and proofs together. When a correction is approved, update the revision number rather than overwriting the only copy. Keep obsolete files outside the upload folder so they cannot be mistaken for live artwork. At final approval, the cart or quotation total, the manifest total and the number of approved proofs should agree. That three-way check is one of the simplest ways to prevent missing or duplicated variants.
- One stable design ID for artwork, proof, quantity and packing.
- One manifest row for every product variant.
- One final revision folder with obsolete files removed.
09
Run a final bag-artwork handoff check
Open the production export in a viewer and compare it with the editable source. Check that the background is intentional, text is complete and all linked elements appear. A screenshot may communicate the desired look, but it is not a substitute for the requested production file. Keep one preview that shows the bag as a whole and another that makes the artwork dimensions legible.
Measure placement from a reference the reviewer can identify, such as the agreed panel or template origin. Avoid instructions such as slightly lower without naming the earlier proof or showing the change. If the bag has different front and back artwork, label the two views and quantities clearly. A shared logo file does not tell the factory whether it belongs on one side, both sides or a particular pocket.
Separate unresolved questions from approved instructions. Ask whether a fine line, pale color or image gradient is appropriate for the chosen fabric and available process. If a physical sample is needed, specify what it must answer and keep the sample decision with the artwork revision. After approval, save the selected bag model, file export, print dimensions and positioning reference together so a reorder does not rely on the appearance of an old marketing photograph.
- Selected bag and printable panel
- Actual print dimensions and orientation
- Requested file type and color workflow
- Named export and proof versions
- Priority details to confirm on fabric
FAQ
Frequently asked questions
Can I use the entire bag width as the print width?
Confirm the available print area for the chosen construction. Seams, handles, closures and panel geometry can affect placement. A bag dimension and a printable-area dimension describe different things.
Should I convert every file to CMYK?
Follow the requested color workflow for the actual job. Keep the editable original and any profiles. Do not treat a generic tutorial or another supplier’s instructions as the production requirement for every bag.
Will transparent PNG artwork always be accepted?
File acceptance depends on the artwork and production workflow. Ask which export is needed, including how text, transparency and separate layers should be supplied. Keep an editable source in case a different export is requested.
How can I approve the placement accurately?
Use a proof with the print dimensions and a shared positioning reference. Identify the side and orientation. A comment such as centered is incomplete if the panel, seams or handles make several centers plausible.
When is a fabric sample useful?
Use it when the unresolved decision involves how color, texture, fine details or the print feels on the selected material. Agree what the sample is intended to establish and record the accepted result.