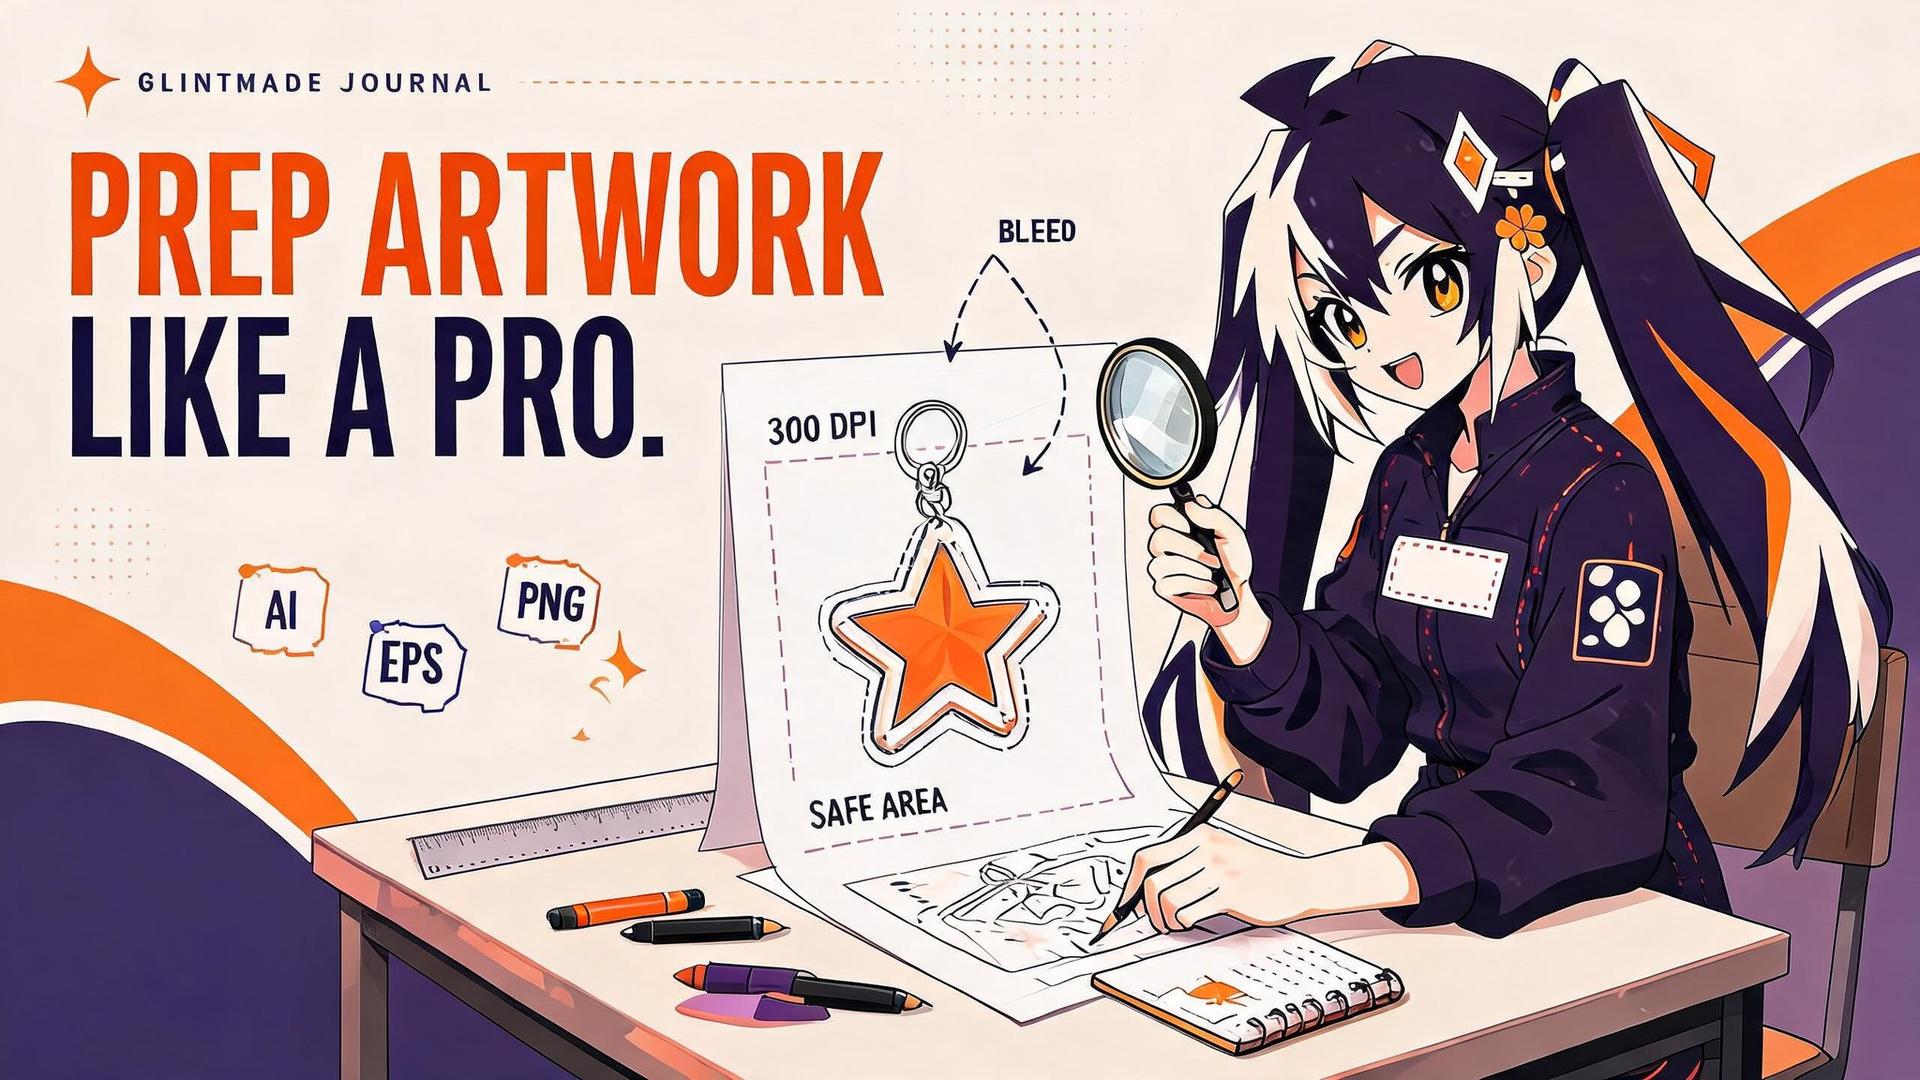
Most delays on a keychain order happen before production starts: a file that is too small, a white border that disappears, text that prints mirrored on the back. This page lists what the factory needs in one place so your first proof is the one you approve.
Send AI, PDF, EPS, PSD, CDR or a transparent PNG. Raster files at 300 DPI at the finished size with at least 1,000 pixels on the longest side, in CMYK. Add 0.5 mm of bleed beyond the cut line and keep important details 2 mm inside the finished edge. Put white ink and transparent areas on named layers, and supply a separate back file when the two sides differ. The digital proof then confirms size, contour, hole position and print sides before anything is cut.
01
Accepted file formats and what each one is good for
Vector files (AI, PDF, EPS, CDR) scale without loss and carry clean cut paths, which makes them the best choice for logos, type and flat illustration. Layered PSD files keep front, back, white-ink and cut guidance separate, which is what the proofing team needs for painted or photographic artwork. A transparent PNG is fine for a single raster design as long as it meets the resolution below. JPG works only as a reference or for a first quotation: it has no transparency and its compression softens edges.
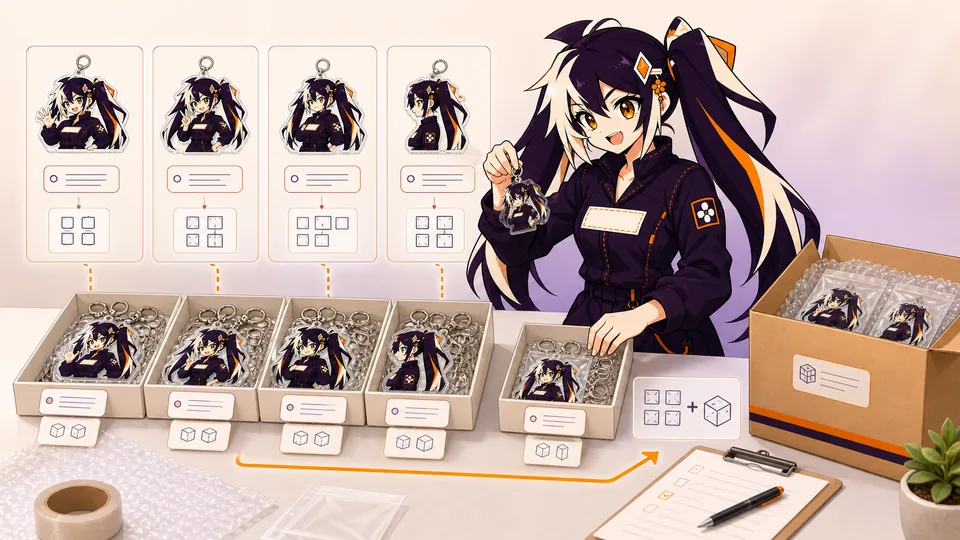
Each file can be up to 20 MB; bundle a batch of designs as a ZIP. Name files by what they are (GM-KC-014_front.psd, GM-KC-014_back.psd) rather than final-new-2.psd, and give every design a short stable ID that also appears in the order. The same ID follows the design through proofing, production trays and packing.
- Vector: AI, PDF, EPS, CDR for logos, text and cut paths
- Raster: layered PSD, or transparent PNG at 300 DPI
- Reference only: JPG, screenshots, phone photos
| Format | Best for | Watch out for |
|---|---|---|
| AI / PDF / EPS / CDR (vector) | Logos, type, flat illustration, cut paths | Outline fonts; embed linked images |
| PSD (layered raster) | Painted or photographic art with white-ink and back layers | Keep layers named; 300 DPI at finished size |
| PNG with transparency | A single finished raster design | At least 1,000 px on the longest side |
| JPG | Reference or first quotation only | No transparency; compression softens edges |
02
Resolution: 300 DPI at the finished size, at least 1,000 pixels
Raster artwork prints at the pixel count it has. The factory target is 300 DPI at the finished size and never fewer than 1,000 pixels on the longest side. A 64 mm (2.5 in) keychain therefore needs about 756 pixels across, and a 76 mm (3 in) one about 900; export at 1,000 pixels or more and both are covered. Changing the DPI label in the file does not add detail; only exporting from the original artwork at a larger size does.
If you are unsure, drop the file into the print size checker: it reads the pixel dimensions in your browser and shows the effective DPI at each keychain size. Fine lines, eye highlights and small text are the first things to go when a file is undersized, so judge the artwork at 100% zoom at actual size, not at editing zoom.
| Finished size | Pixels at 300 DPI | Pixels at 150 DPI (not recommended for keychains) |
|---|---|---|
| 1.5 in / 38 mm | 449 px (export ≥ 1,000) | 225 px |
| 2 in / 51 mm | 603 px (export ≥ 1,000) | 302 px |
| 2.5 in / 64 mm | 756 px (export ≥ 1,000) | 378 px |
| 3 in / 76 mm | 898 px (export ≥ 1,000) | 449 px |
03
Color: CMYK artwork, Pantone references for the colors that matter
Screens emit light; printed acrylic reflects it, so a bright RGB preview cannot promise the same appearance. Prepare the production file in CMYK and keep the original wide-gamut file archived. If a brand or character color is critical, name it with a Pantone reference instead of describing it, and treat the physical sample as the only exact color check. Neon, very saturated and very dark gradients are the areas most likely to shift.
Printed color also depends on what is behind it. On clear acrylic a design without white ink is translucent; with white ink behind it the same artwork is solid and bright. Decide which areas should be opaque, which should be see-through, and mark them on separate layers (the next sections cover both).
04
Size, border, bleed and the hanging hole
The quoted size is the longest finished edge of the acrylic piece, including the clear border, not the width of the printed artwork alone. The standard border is 2 mm of clear acrylic around the design; borderless (full-bleed) keychains are a separate construction and should be ordered as such. Keep important details, text and faces at least 2 mm inside the finished edge, and extend background color 0.5 mm beyond the cut line so a cutting tolerance never leaves a white sliver.
The hanging hole is placed directly above the design by default. If it must sit elsewhere, mark the position in the file or in the order note; the proof will show the hole, the clasp and the cut contour together so you can check nothing important sits under the hardware. Thin white outlines read thinner on the finished piece, especially near the edge; make them a little wider than they look on screen.
- Size = longest finished edge, border included
- Standard border 2 mm; full-bleed is its own option
- 0.5 mm bleed outside the cut line, 2 mm safe area inside
- Mark a non-default hole position in the file
05
Single-sided, double-sided same, double-sided different
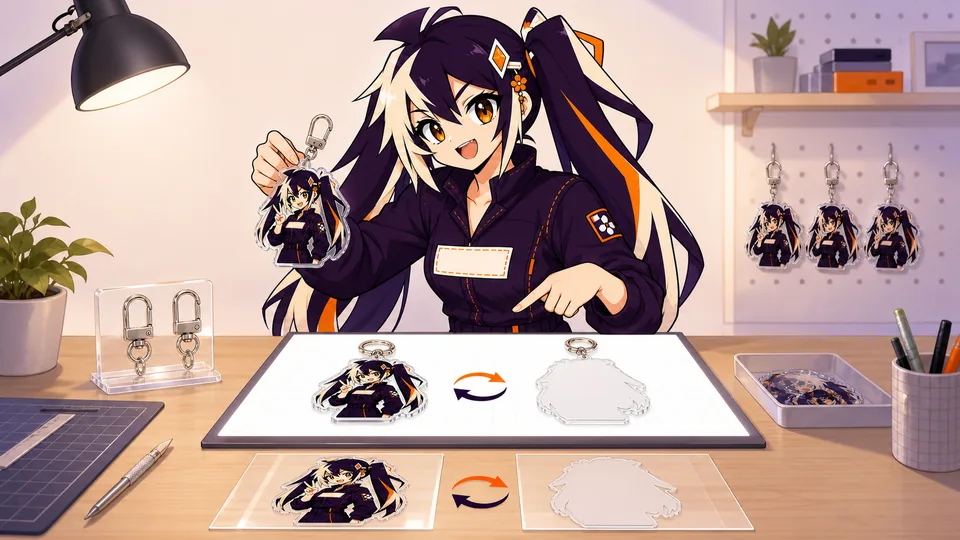
Single-sided artwork is viewed from the front and normally prints with white ink behind it, so the back shows the white layer. Double-sided same design repeats the front on the back; because the back is seen through the acrylic, it appears mirrored, which is fine for most characters and wrong for anything with text or a direction. Double-sided different design takes a separate back file, prepared at the same finished size, so text reads correctly on both sides.
Supply the front and the back as two files or two clearly named layers, never as one image with both sides side by side. If the two sides use different white-ink coverage, say so: the white layer sits between them and decides how much of each side shows through. The guide on single- and double-sided acrylic layers walks through the three cases with examples.
06
White ink and transparency: name the layers
White ink is what makes a printed area opaque on clear acrylic. Areas with no white ink stay translucent and pick up whatever is behind the keychain. Semi-transparent white is not possible: white is either printed solid or absent, so soft white glows and white gradients need a different approach, usually a light tint over a white base. Colored areas can be printed without white for a stained-glass look, but their brightness drops.
Put the white-ink coverage on its own layer named White, the transparent areas on a layer named Transparent (or simply leave them empty with the white layer absent), and keep the artwork layer untouched. If you would rather the factory build the white layer, say so in the order note; the proof will show the white coverage as a separate view so you can approve it.
07
What the digital proof confirms before cutting
Every Glintmade order receives a formal digital proof after the artwork review. It shows the finished size and the cut contour, the border width, the hole and clasp position, which sides print, the white-ink coverage, and any accessory or effect you selected. Production starts the next business day after you approve the proof in writing and payment is received; the website preview and the editor mockup are references, not the proof.
Review the proof at actual size, check spelling and orientation on both sides, and confirm the cut line clears every important detail. Changes before approval are free; after approval the proof is treated as correct, which is why a careful review is faster than a remake. The proof review checklist lists the checks the factory runs on its side.
FAQ
Frequently asked questions
Do you accept Procreate or Clip Studio files?
Export them first: a layered PSD keeps the white-ink and back layers separate, or a transparent PNG at 300 DPI works for a single design. Native .procreate and .clip files are not production formats.
Can you draw the cut line and hole for me?
Yes. Send the artwork and the factory draws the contour, border and hole position, then shows them on the proof. If you have a preferred contour, include it as a separate vector path or layer.
My design has a white background. Will it be transparent?
Only if the background is actually transparent in the file. A white rectangle prints as white ink and becomes part of the piece. Remove the background or supply a transparent PNG or layered PSD.
What happens if my file is too small?
The artwork review flags it before the proof and asks for a larger export. Upscaling a small file does not recover detail; export from the original artwork at the finished size or larger.
Can one order mix several designs?
Yes. Give each design its own ID and quantity, keep front and back files paired by that ID, and list them in the order note; see the guide on ordering multiple designs.