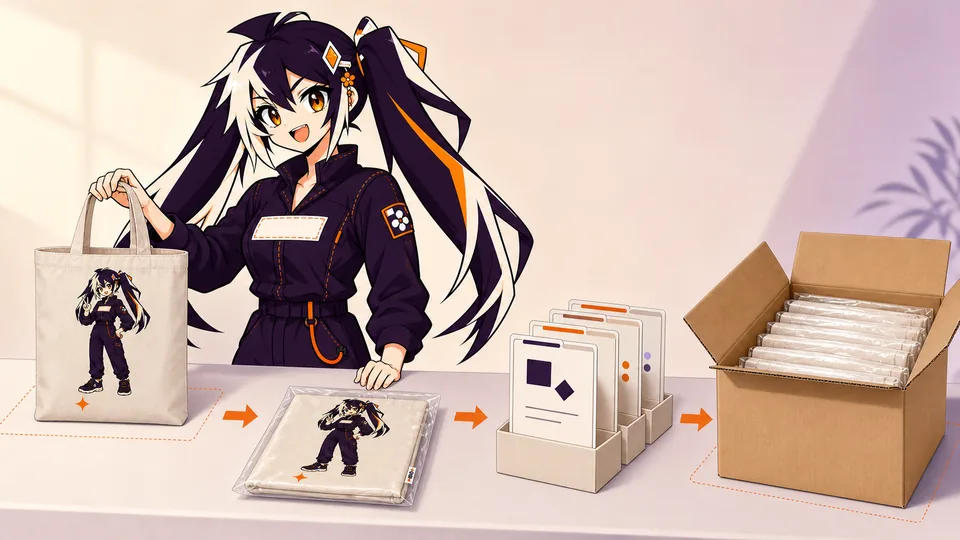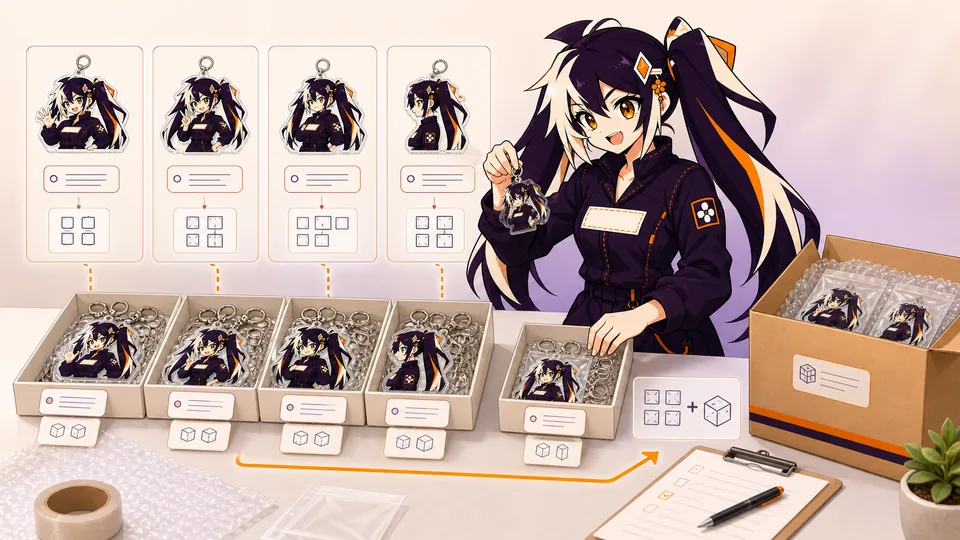
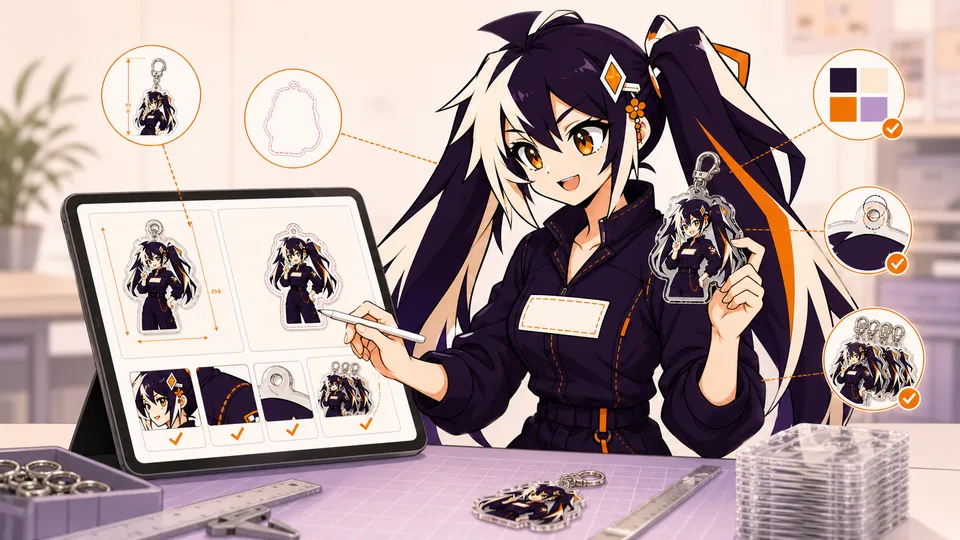
Before approving custom merchandise, connect the artwork to one complete production record: the product, dimensions, quantities, layers, accessories and packing. This checklist helps buyers separate what a digital proof can confirm from what needs a physical sample.
Check the order scope, finished dimensions, text, orientation, layers and assembly; follow the color workflow requested for that job. Use a physical sample for unresolved material, color or fit questions, and approve one clearly identified final version in writing.
01
Key takeaways
Use these decisions to guide the detailed checks below.
- Approve a named proof version against the full order brief, not an isolated preview.
- Check size and image detail at the intended physical scale.
- Use the job-specific color workflow; a screen preview cannot guarantee a physical match.
- Resolve material, finish and fit questions with the appropriate sample or production confirmation.
- Keep the approved proof, quantities, packing record and written decision together for reorders.
| Review method | Useful for | Cannot establish by itself |
|---|---|---|
| Normal screen preview | Composition, spelling and obvious file errors | A defined production color or physical material result |
| Configured soft proof | Previewing a specific output condition through color profiles | Texture, finish, assembly or a guaranteed physical match |
| Supplier digital proof | Production layout, dimensions, layers, effects and component instructions | Hands-on color, material, fit or movement |
| Physical sample | Hands-on review of material, color, finish, fit and assembly | Automatic approval of later changes to size, process or material |
02
Match the proof to the complete order scope
Begin by placing the proof beside the latest order brief. Confirm that the customer name, product, design ID, variant, material, finish, size, accessory, quantity and packing request belong to the same job. A visually correct image can still be attached to the wrong size or hardware option. When an order contains several designs, review them line by line instead of treating the total quantity as proof that every design is present.
Use stable names across the artwork, quantity table, proof and approval message. If the brief calls a design `fox-blue-v3`, the proof should not shorten it to `fox-final` while another file uses the same word. Mark optional requests separately from confirmed production instructions. Questions that remain open should stay visible as questions; they should not disappear into a clean-looking mockup. Before reviewing visual details, make sure the proof is complete enough to approve.
- Confirm every product, design and variant against the latest brief.
- Pair each design with its own size, material, finish, accessory and quantity.
- Separate confirmed instructions from options that still need an answer.
- Stop the review if a required view, dimension or production note is missing.
03
Check dimensions and effective resolution at final size
Review the finished physical dimensions before zooming into small details. Confirm whether the stated width or height describes the artwork, the printed area, the cut piece, the backing, the acrylic body or the assembled product. Borders, hanging holes, standee bases, seams and closures can change the space available to the illustration. For a multi-part item, record both the individual component dimensions and the assembled result where that distinction matters.
Raster artwork must also be judged at the size at which it will be produced. Pixel dimensions, physical dimensions and pixels per inch describe related but different parts of the file. Adobe describes 300 ppi as a common high-quality print reference, while also noting that viewing distance and printer requirements can change what is appropriate. Treat that number as a diagnostic reference, not a universal Glintmade specification. Enlarge the artwork to its intended finished size, inspect edges and small text, and follow the current production team's requirement for the actual job.
- Confirm units and the exact part of the product each dimension describes.
- Inspect raster artwork at the intended physical output size, not only at editing zoom.
- Check that rescaling has not distorted proportions or exposed soft edges.
- Use the current product instruction or production reply as the acceptance requirement.
04
Follow the job-specific color workflow
Do not reduce color preparation to a universal command such as “always submit CMYK” or “RGB is always acceptable.” Different output devices, inks, substrates and production workflows can handle conversion differently. Adobe's color-management guidance describes workflows in which the application manages color and workflows in which the output device manages it. The useful question is therefore not which acronym wins in the abstract, but which source profile, output condition and conversion responsibility apply to this product and supplier.
Preserve the original editable artwork and any embedded profiles while preparing the requested production version. If the production team asks for a particular color space or profile, record that instruction with the proof instead of relying on memory. For brand-critical colors, provide an unambiguous reference and ask how it will be interpreted for the selected material and process. A reference identifies intent; it does not by itself guarantee that every substrate, finish or lighting condition will produce the same appearance.
- Keep the original editable source file and a dated production export.
- Record the requested color space or profile with the job rather than applying a generic rule.
- Identify colors that are critical to the brand, character or product decision.
- Ask how transparent, white-ink, metallic, holographic or fabric areas affect the intended color.
05
Separate screen preview, soft proof and physical sample
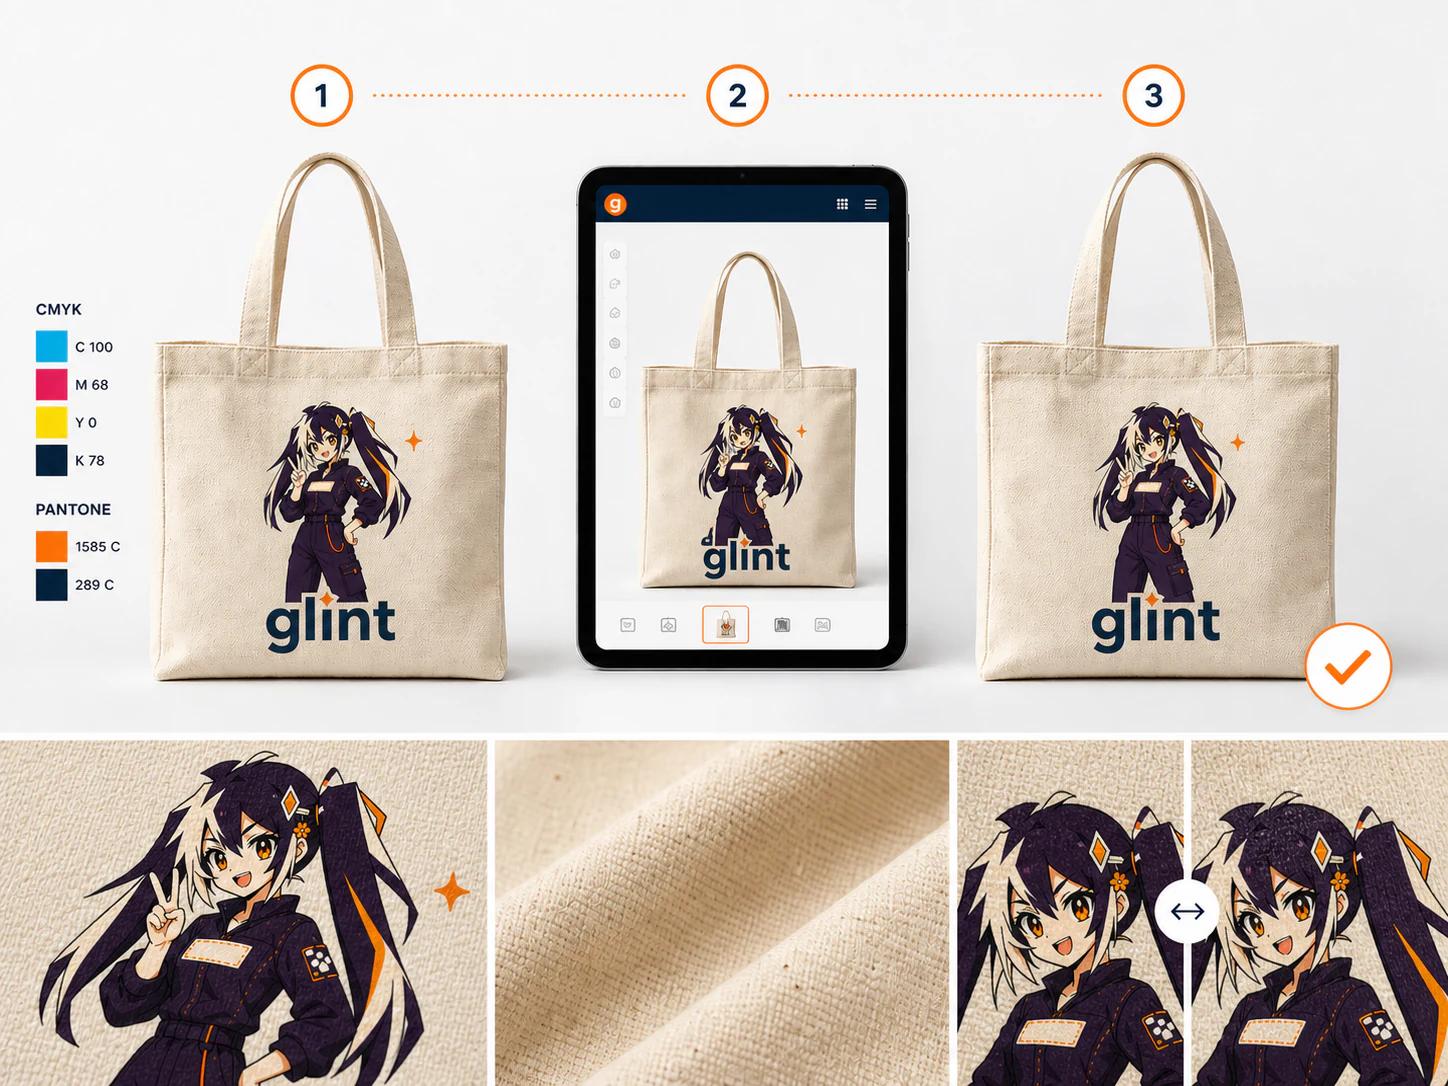
An ordinary screen preview shows the file through one display and one viewing environment. It is useful for composition, spelling and obvious layer errors, but it is not a physical product. Display brightness, calibration and ambient light can change what the reviewer sees. Sending a screenshot of a preferred color adds another display and another conversion step; it should not become the only color reference for production approval.
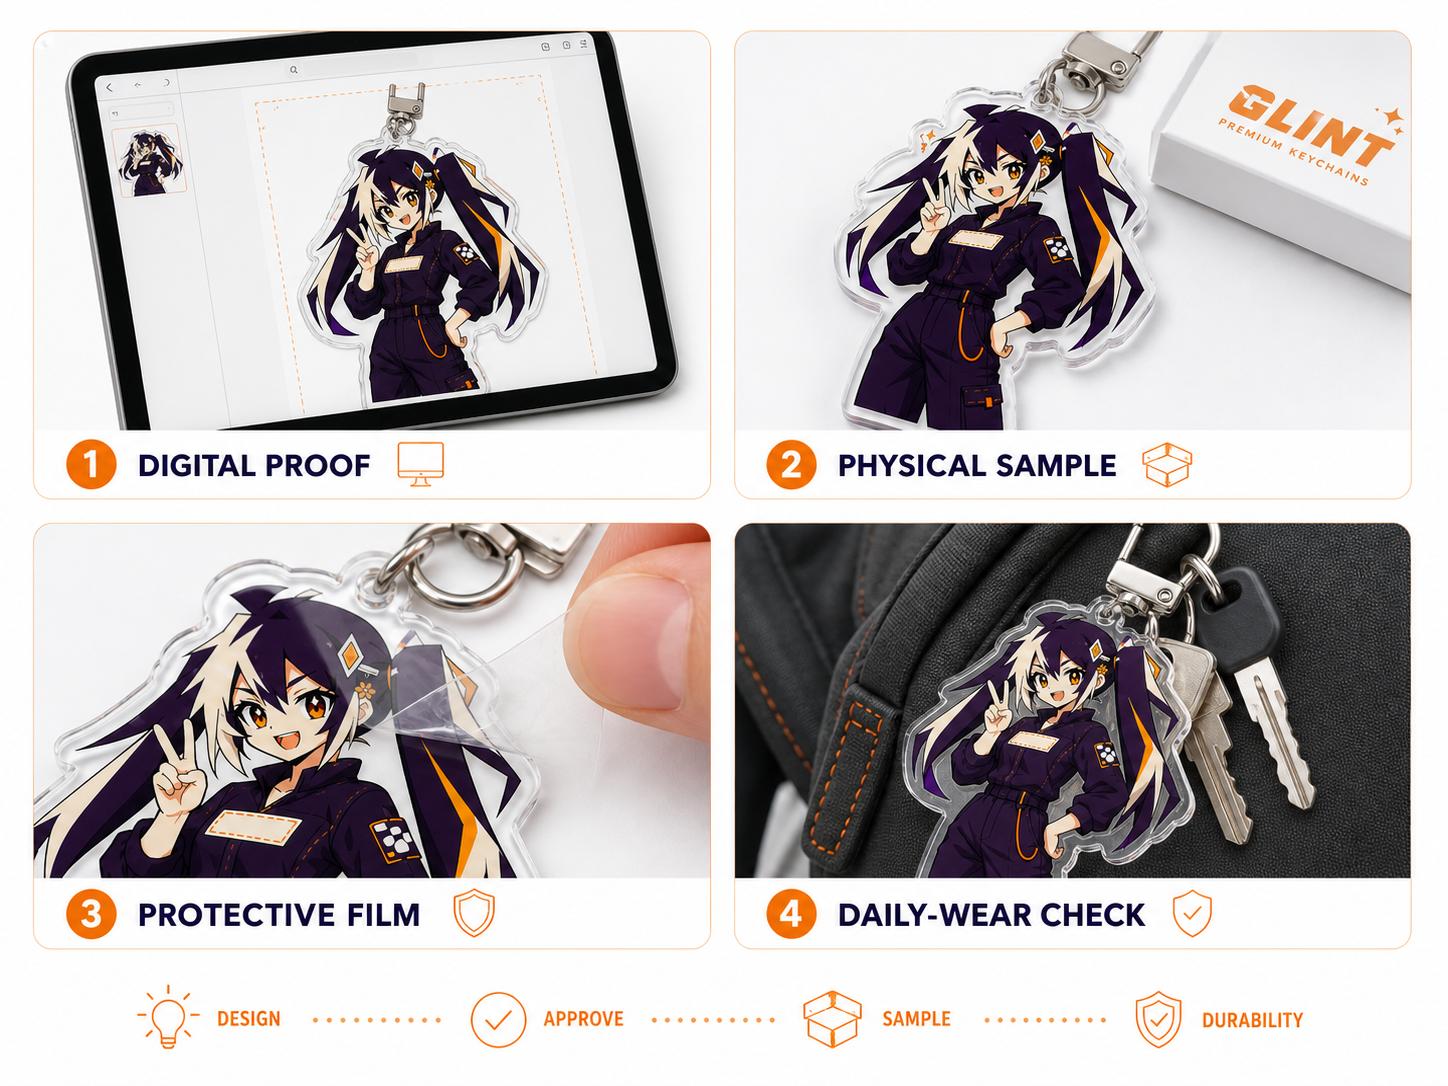
A soft proof is more specific: it uses a selected output profile to simulate an output condition on screen. Adobe notes that its reliability depends on the monitor, the monitor and output profiles, and the viewing environment. It can help reveal colors that may shift, but it still does not reproduce texture, transparency, white ink, glitter, fabric tone, gloss, depth or assembly. A supplier's digital production proof confirms the intended production arrangement. A physical sample goes further when hands-on evaluation of color, material, fit, finish or movement is important.
- Use the normal artwork view to check content and composition.
- Use a configured soft proof to preview a defined output condition, when available.
- Use the supplier's production proof to approve layout, dimensions, layers and manufacturing instructions.
- Request or approve a physical sample when the unresolved risk cannot be judged on screen.
06
Inspect text, orientation and production layers
Read every word in the proof, including small labels, dates and text that appears on the back. Compare the front and back views with the source artwork. Mirroring may be correct for a reversible graphic and wrong for readable text, directional symbols or asymmetric character details. When several designs share one order, make sure that front and back files remain paired with the same design ID.
Review transparent areas, white-ink layers, special-effect masks, cut guides and print artwork separately. A composite preview can hide a missing layer because the final image still looks plausible. Ask what an unprinted transparent area will reveal and where a white base is intended to support color. For effects that change with light or angle, approve the placement and mask rather than assuming a static preview can represent every view of the finished item.
- Check spelling, dates, labels and small text at actual output size.
- Verify front, back and mirrored views design by design.
- Toggle or inspect print, white-ink, effect, cut and reference layers separately.
- Remove hidden experiments and obsolete alternatives from the production export.
07
Review contours, hardware, assembly and packing
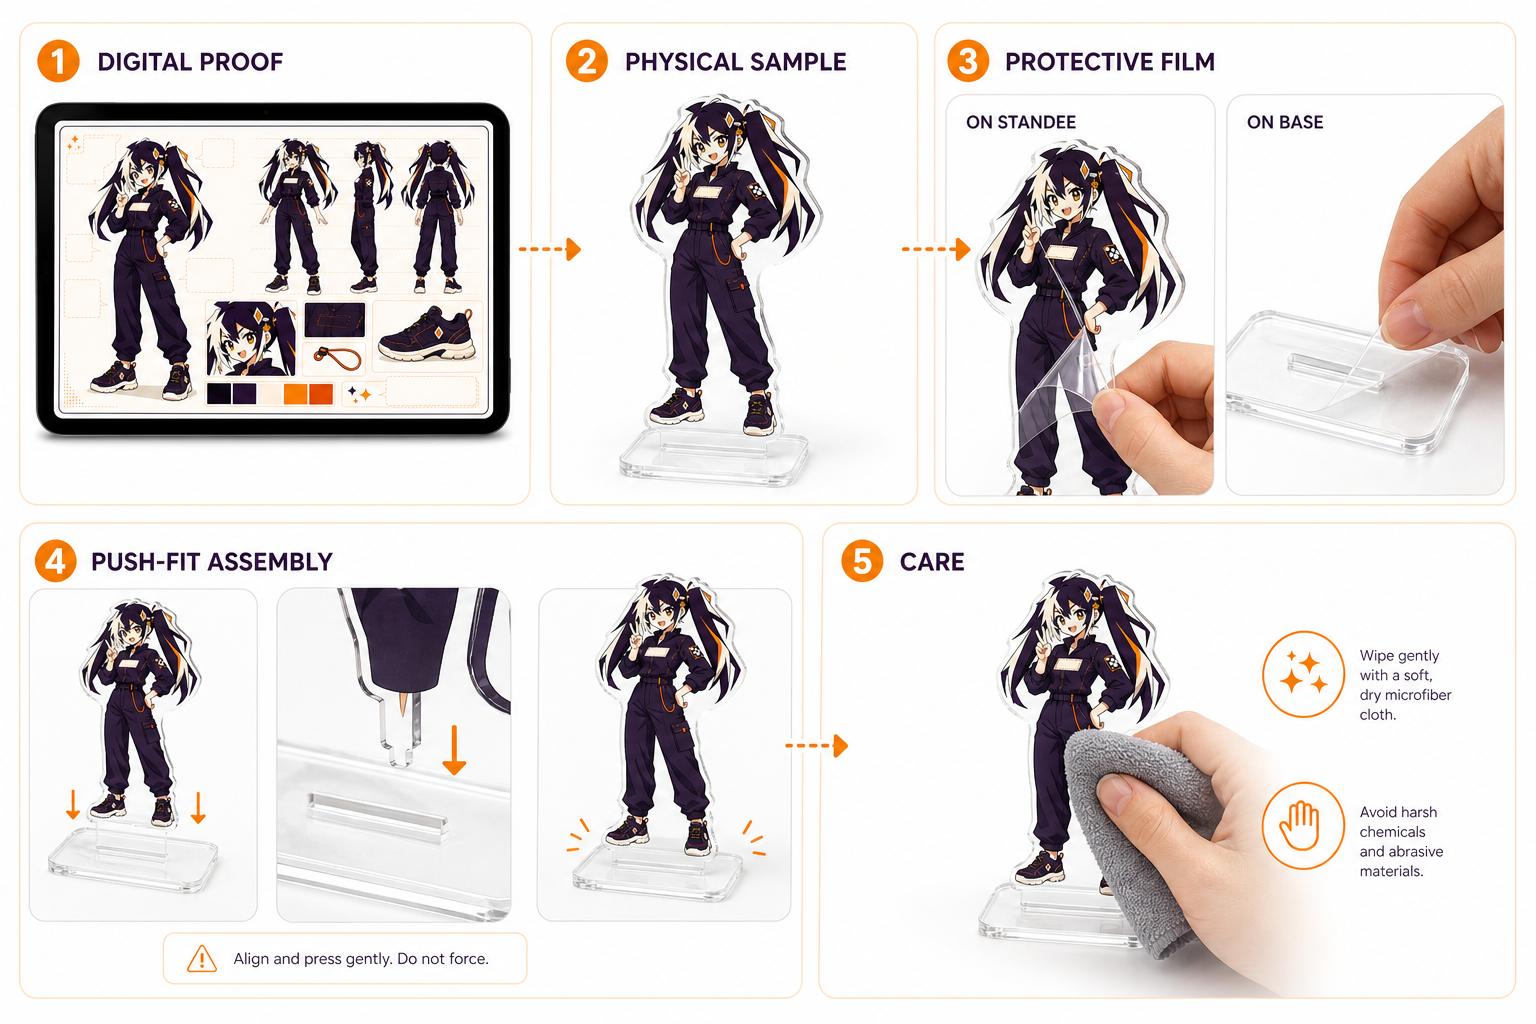
Trace the complete cut contour and inspect narrow points, internal gaps and corners. Confirm whether a visible border is intentional and whether important artwork remains clear of holes, slots, seams or closures. The proof should describe the finished object rather than an isolated image. For acrylic products, review the relationship between artwork, cut edge, hanging hole and selected hardware. For standees, review the upright, tab, base slot and viewing direction as one assembly.
Continue the same check into packing. Match the accessory finish, attachment direction, protective film note, individual packing request, backing card or label to the correct product. When a sample or previous approved order is the reference, identify it by date or version instead of writing only “same as before.” Reorders are easier to verify when the approved proof, sample notes and packing specification remain linked to the same design IDs.
- Trace the cut edge and inspect fragile points, holes, slots and seams.
- Confirm hardware type, color and orientation where applicable.
- Review assembled views for products with bases, inserts, closures or multiple parts.
- Pair packing and labeling instructions with the correct design and quantity.
08
Consolidate corrections and protect version history
Return one consolidated correction list whenever possible. Identify the page, design or component, describe the current state, and state the requested result. “Fix the color” is difficult to verify; “keep the face fill aligned with the approved reference and confirm the production interpretation for this material” creates a checkable question. Separate mandatory corrections from preferences and questions so the next proof can show which items are resolved.
Never approve a file identified only as `final` when several finals exist. Use a revision number or date, and make the approval message repeat that identifier. If a corrected proof changes size, contour, layers, quantities or accessories, recheck the dependent fields instead of reviewing only the highlighted edit. Save the approved proof with the order brief and any sample record. This creates a useful baseline for replenishment without pretending that an old approval automatically covers a new material, size or process.
- Send one numbered list of corrections tied to specific designs or components.
- Mark every item as correction, preference, question or approved detail.
- Require a new version identifier after changes and repeat it in the approval message.
- Recheck dependent dimensions, layers and quantities after any structural change.
09
Approve one complete and traceable production record
Complete the checklist below without relying on earlier comments. Resolve open questions or explicitly remove them from the order. If the remaining decision depends on a physical result, agree whether a sample is needed before production approval.
Name the exact approved proof version and save the approval message with the order brief and any sample notes. A later change to the size, material, process, quantity or assembly needs its own review; the earlier approval is a reference, not automatic acceptance of the change.
- Order scope, designs, variants and quantities match the latest brief.
- Finished dimensions, units and effective image quality are confirmed.
- Text, orientation, transparency, white ink and effect layers are confirmed.
- Color instructions follow the job-specific production workflow.
- Contour, hardware, assembly and packing are confirmed.
- Any required physical sample has been reviewed or explicitly waived by the decision-maker.
- The final proof version is named and approved in writing.
FAQ
Frequently asked questions
Should I submit RGB or CMYK artwork for custom merchandise?
Follow the current instruction for the specific product and production workflow. Different suppliers and output processes can handle conversion differently, so do not convert solely because another supplier uses a different rule. Keep the editable original and record which production version was requested.
Can a monitor preview guarantee the finished product color?
No. A screen preview is affected by the display and viewing environment. A configured soft proof can simulate a defined output condition, but physical material, ink, transparency, texture and finish still require the supplier's proof and, when the risk matters, a physical sample.
Is 300 ppi always required?
Adobe describes 300 ppi as a common high-quality print reference, but the suitable resolution depends on final physical size, viewing distance, artwork type and the output process. Use it as a warning check and follow the current production requirement for the actual product.
When should I request a physical sample?
Consider a sample when an unresolved decision depends on material, color, finish, fit, balance, movement or assembly and cannot be judged reliably from the digital proof. Confirm the sample terms for the current order instead of assuming they are always the same.
What should a written proof approval include?
Name the exact proof version and confirm the product, design list, dimensions, quantities, artwork, color instructions, effects, contour, accessories, assembly and packing. Keep that approval with the order brief and any sample notes.