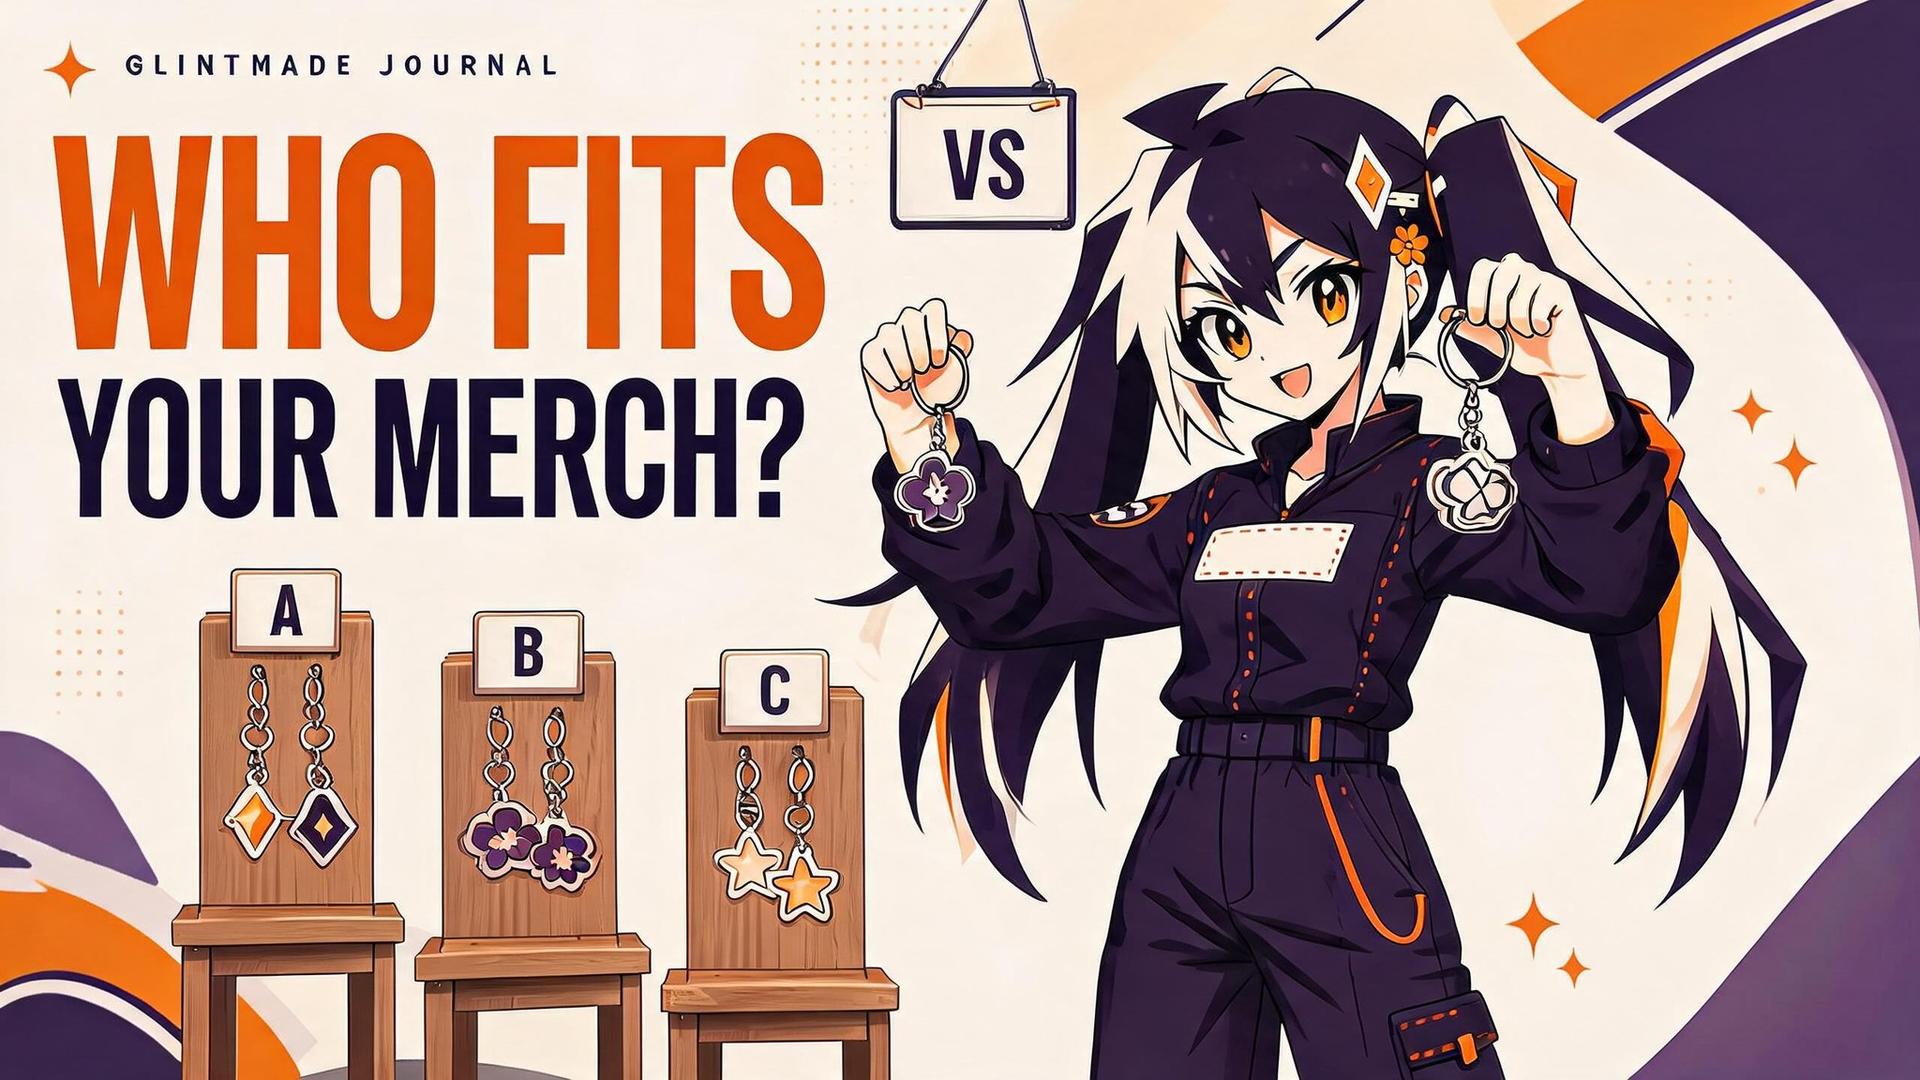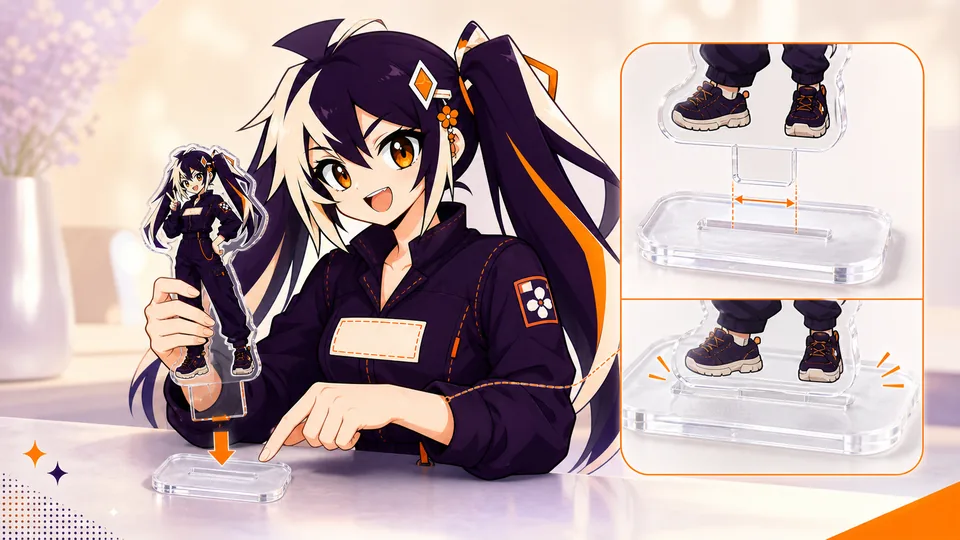
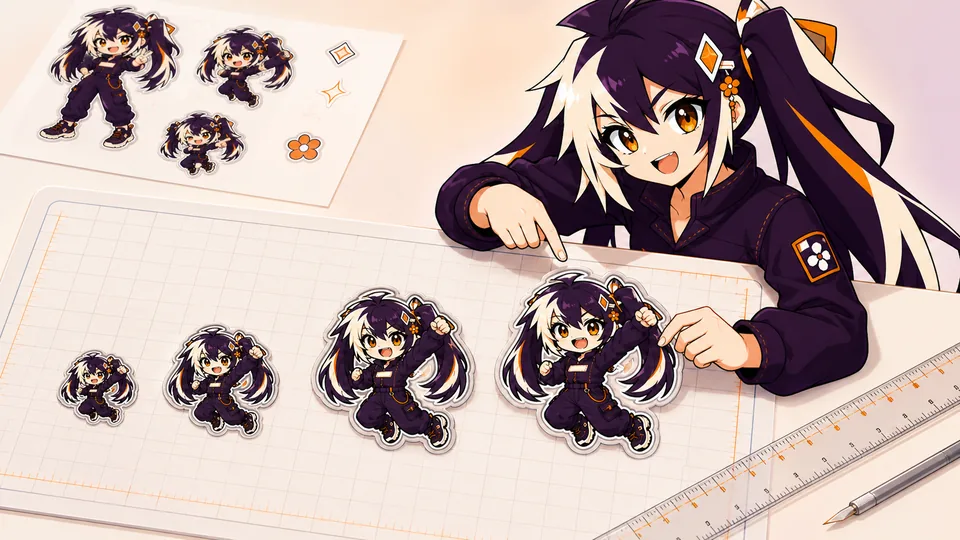
Sticker size should begin with two things: the surface where the sticker will be used and the smallest detail that must remain readable. Measure the usable area, test the artwork at its intended size, and review the complete product rather than judging a zoomed-in file.
There is no single best size for every sticker. A laptop decal, packaging seal, sticker sheet and retail sticker pack each create a different viewing and handling problem. The right size is the smallest option that still preserves the design's main idea, fits its intended surface comfortably and gives the cut shape enough room to work.
01
Key takeaways
Use these decisions to guide the detailed checks below.
- Measure the usable surface before choosing finished dimensions.
- Test the smallest important detail with a paper mockup at actual size.
- Choose die-cut, kiss-cut, sheet or pack from the way the buyer will handle it.
- Keep finished size, backing size, design count and ordered units separate.
- Approve the cut, artwork version and quantity record together.
| Format | Best starting use | Dimensions and counts to record |
|---|---|---|
| Die-cut piece | One independent graphic | Finished piece size and piece quantity |
| Kiss-cut piece | Easy peeling with retained backing | Backing size, peelable shape and quantity |
| Sticker sheet | Coordinated designs on shared backing | Sheet size, each cut, layout and sheets ordered |
| Sticker pack | An assortment of separate pieces | Each design size, pieces per pack and packs ordered |
02
Start with the usable surface
Measure the flat area that can actually accept the sticker. Leave room around curves, seams, hinges, handles, textured panels and other interruptions. A sticker may fit within the total width of an object while still feeling crowded, crossing a bend or lifting at an edge. If the object will be handled often, check where fingers rub against it and whether a corner of the sticker would sit in that path.
These inputs are more useful than choosing a familiar size first and forcing the artwork into it. A packaging seal may need a compact shape with one clear mark. A display sticker can support more detail because the buyer sees it from farther away. A laptop sticker may need enough empty space around it to coexist with ports, logos and other stickers.
When the surface is curved, test with a paper shape rather than relying on width and height alone. Place it on the object and look for buckling, overlap and narrow points that want to lift. Record the usable surface separately from the final sticker size so the production team can see the constraint behind the choice.
- the maximum usable width and height;
- the normal viewing distance;
- the text, face or symbol that must remain recognizable.
03
Test the artwork at actual size
Editing zoom can hide size problems. Set the document to the intended finished dimensions, view it at 100%, and print a paper mockup when possible. Check it from the distance at which the finished sticker will normally be seen. A design that looks clean across a monitor may lose its expression, lettering or separation between shapes when reduced.
Look at the visual hierarchy first. The main character, logo or message should be recognizable before the smaller decoration. Then inspect small text, eye highlights, line gaps and negative space. If they merge, simplify the least important detail, strengthen the contrast or increase the line weight before enlarging the whole sticker. Enlarging can solve readability, but it can also make the product unsuitable for its intended surface.
Here is a hypothetical test, not a Glintmade size specification. Suppose the flat area on a notebook is 70 mm wide. Print the same artwork at 50 mm and 60 mm. Place both paper versions on the notebook, then check whether the title remains readable and whether enough space remains around the edges. The better choice is the version that passes those checks, even if the larger version technically fits.
Repeat this test after meaningful artwork changes. New lettering, a thinner outline or a different crop can change the smallest safe size. Keep the approved paper mockup or a dated PDF with the order files so later reorders use the same reference.
04
Choose the cutting format from the buyer's action
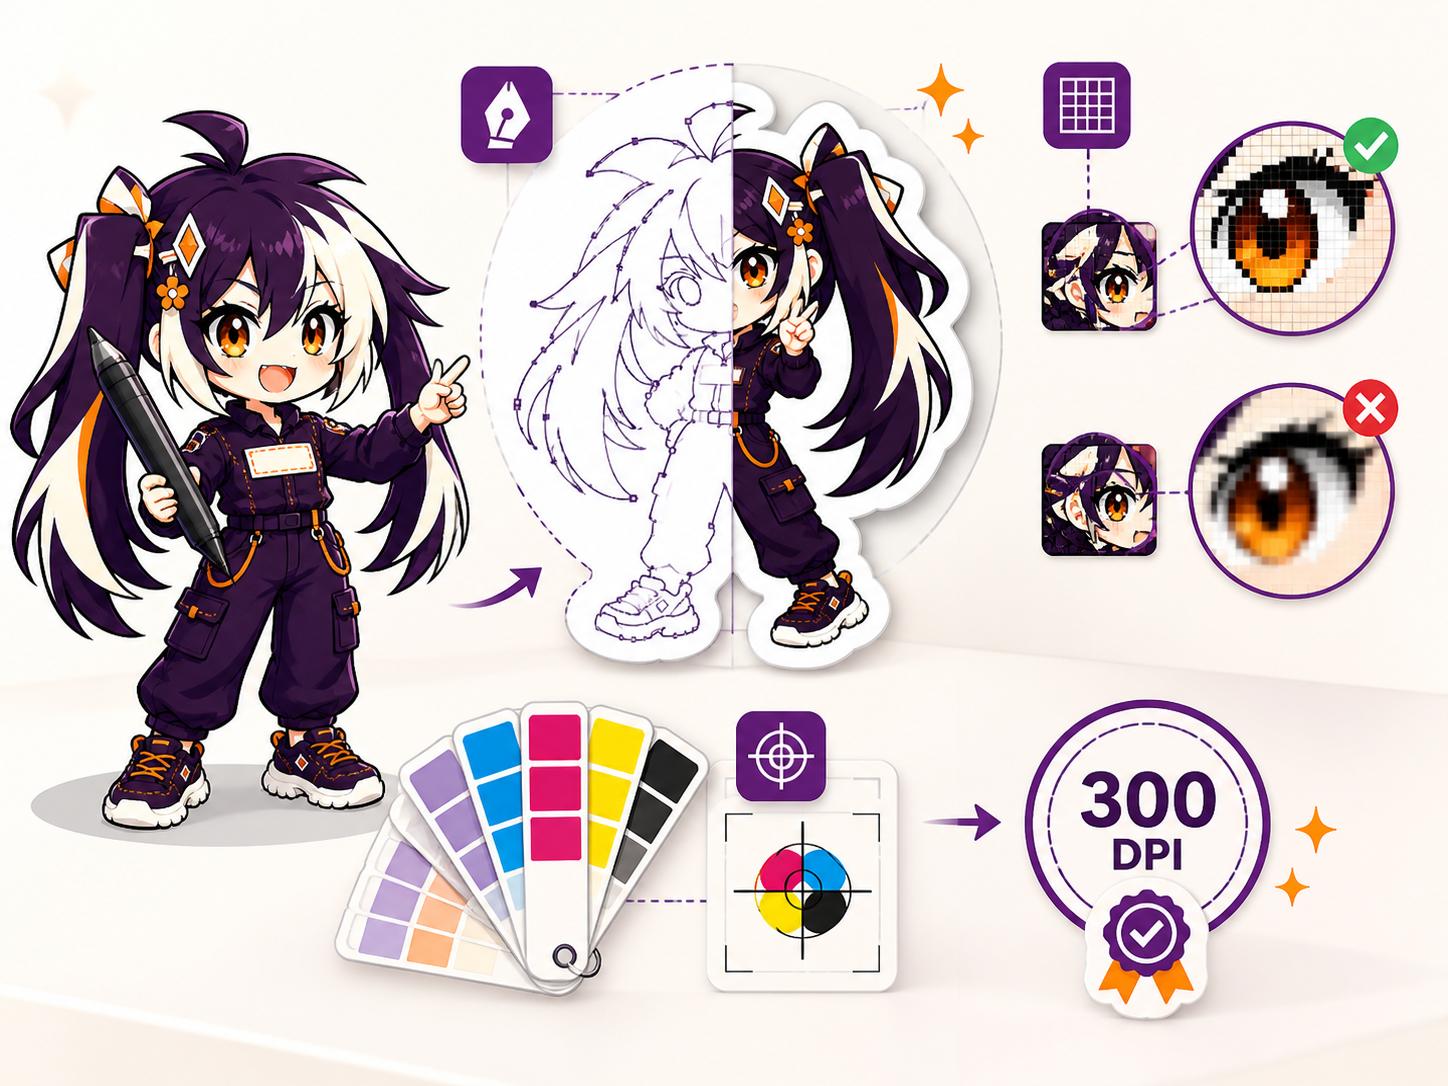
The cutting format changes how the sticker is presented, peeled and purchased.
Do not force one layout into every format. A character may work as a die-cut hero sticker, while expressions, props and small icons may work better as a sheet. A simple logo might work either way, but the decision still depends on whether the backing is part of the presentation and whether the buyer handles one piece or a set.
Record the finished dimensions of the overall product and the approximate dimensions of each peelable design. For a kiss-cut piece, distinguish the backing size from the sticker itself. For a sheet, distinguish the sheet dimensions from the cuts it contains. This prevents a technically correct measurement from describing the wrong part of the product.
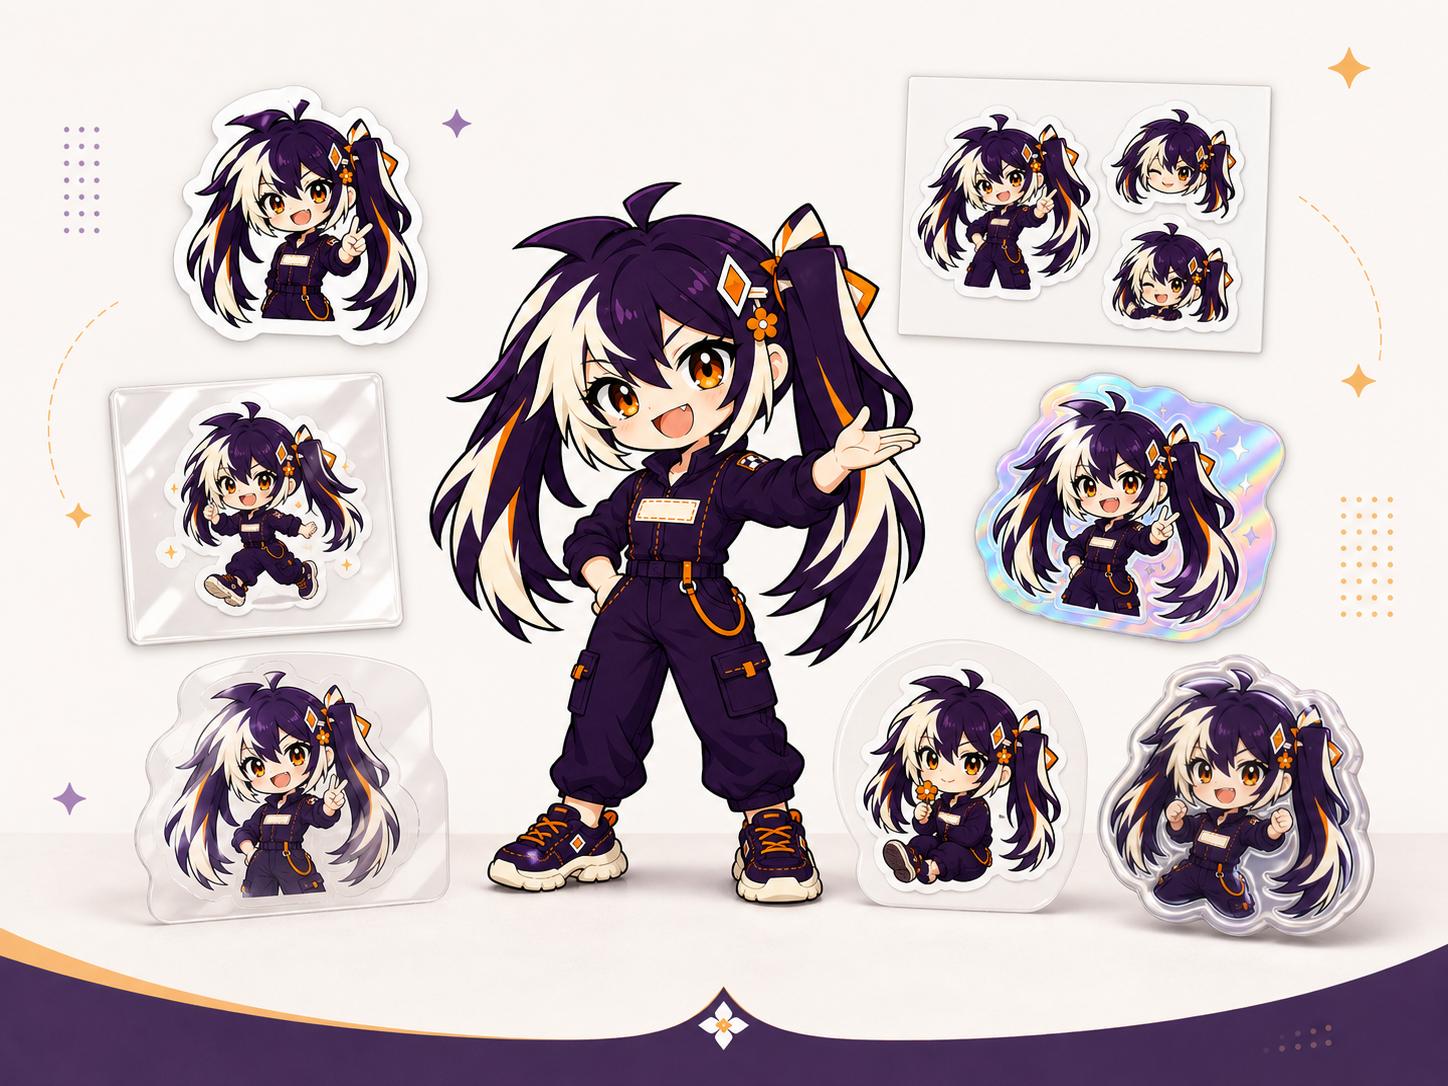
- Choose a die-cut sticker when one strong outer silhouette should become the finished piece.
- Choose a kiss-cut piece when surrounding backing makes the sticker easier to peel or provides room for printed context.
- Choose a sticker sheet when several coordinated designs should remain together on one shared backing.
05
Compare sticker packs and sticker sheets
A sticker sheet holds several peelable designs on one shared backing. A sticker pack groups separate stickers into one assortment. Both can present a themed collection, but the buyer interacts with them differently and the production brief needs different information.
Choose a sheet when the shared composition matters. It can keep a set visually organized, provide space around each cut for peeling, and present the collection as one item. Specify the finished sheet size, each design's size, the layout and orientation, and whether the shared backing should carry artwork. Leave enough open backing around cuts for a person to identify and lift each piece.
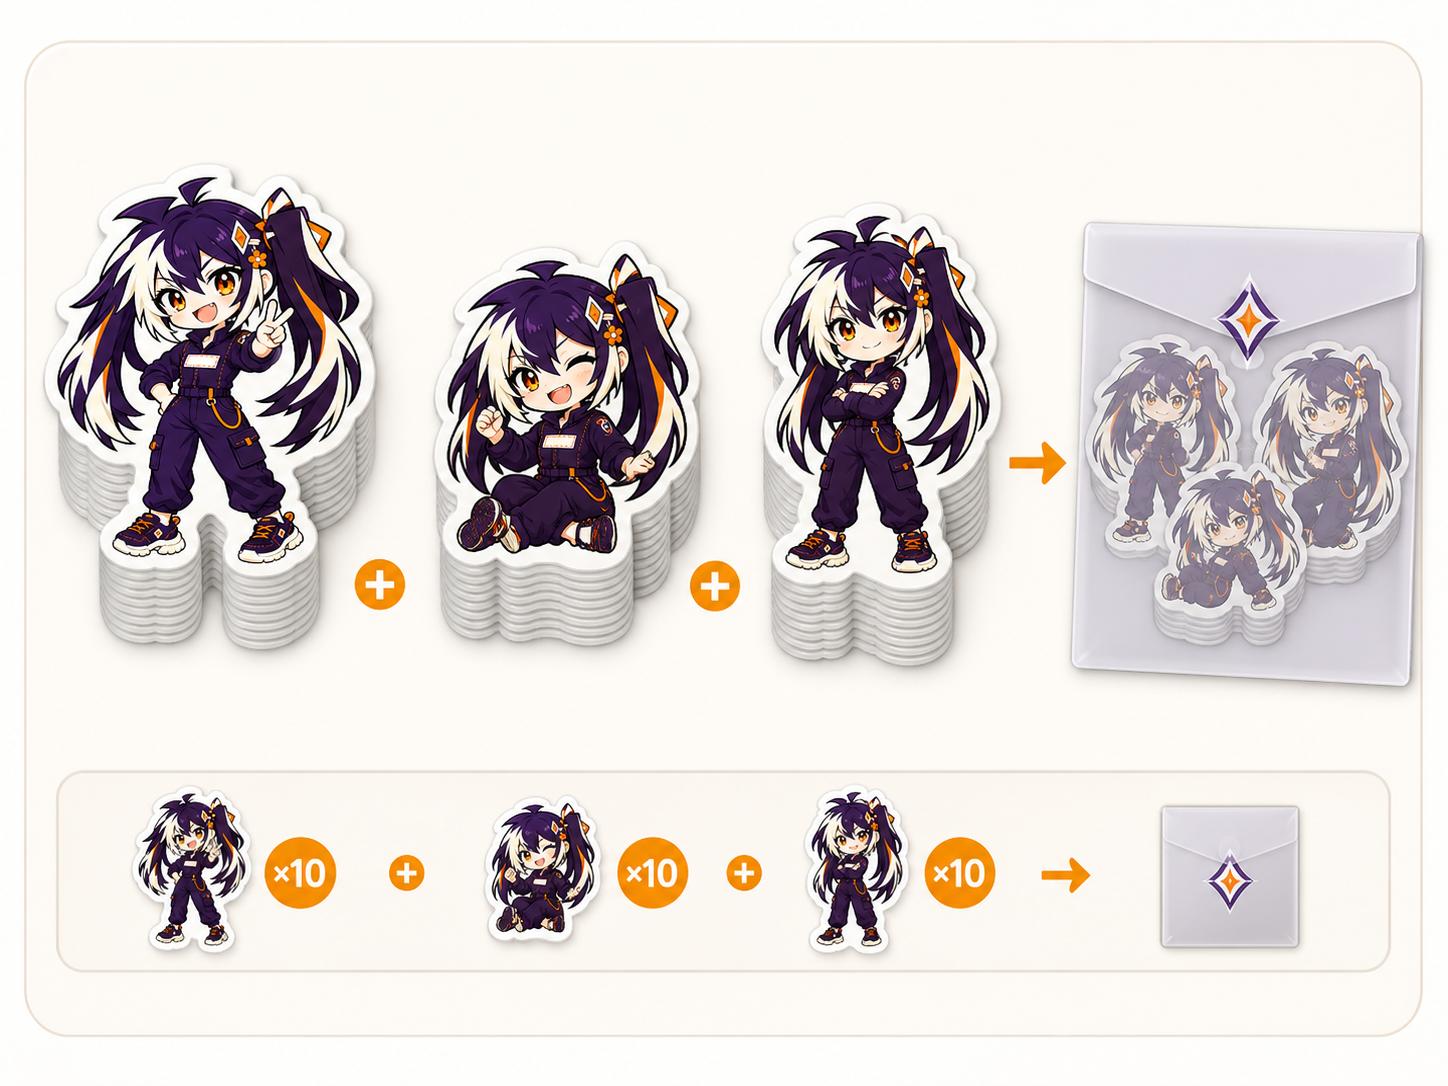
Consider a pack when the pieces should remain independent. It can group separate designs that buyers may distribute, collect or use in different places. Specify every included design, its finished size, the number of pieces intended for each retail pack, and the requested packing presentation. Decide whether all designs appear once or whether some repeat.
Treat design count, individual piece count, finished sheet count, retail pack count and the quantity entered on an order as separate fields. Confirm how they correspond before ordering instead of assuming that one ordering unit always means one sheet or one retail pack. Compare custom kiss-cut sticker sheets and custom sticker packs against the way buyers will use the collection.
06
Plan the border, bleed and cut
A border is visible space that remains around the artwork. Bleed is extra artwork outside the finished edge that may be trimmed away. The safe area keeps text, faces and important marks away from the intended cut. These three areas solve different problems, so label them separately in the file or proof comments.
If color reaches the finished edge, continue the background or pattern naturally into the bleed. Do not create bleed by stretching the last row of pixels or adding an unrelated color ring. Keep critical content inside the safe area, and avoid thin borders that make small production movement unusually visible. A border should look intentional at actual size, not only while enlarged on screen.
The intended cut should preserve the design without adding fragile spikes or narrow valleys that contribute little to its shape. At proof stage, trace the complete perimeter. Check that edge color has enough artwork beyond the cut, important details remain safely inside it, and any internal openings are intentional.
Use the current product template or formal proof for exact production allowances rather than treating a number from another product as universal. Material, finish, equipment and product type can change the required setup. If the proof changes the contour, review the finished width and height again because the cut path defines the final footprint.
07
Prepare the production file for review
Keep the artwork, cut information and order notes easy to match. Use a stable design ID in the filename, layout, quantity table and proof comments. If the front artwork and cut path are separate layers, name the layers clearly and avoid leaving obsolete alternatives visible in the production file.
Before upload, check that linked images and fonts are handled according to the current product instructions. Remove hidden experiments that could be mistaken for production content. Keep important artwork away from the intended cut, and make sure transparent areas are deliberate. If white ink, special effects or printed backing artwork are required, identify them explicitly instead of expecting appearance alone to communicate the request.
Export a review copy that shows the artwork at finished size and includes the design ID. The production file and review copy should describe the same version. When replacing a file, increase the version label and state what changed, such as thicker lettering, adjusted cut contour or revised pack quantities.
Treat the supplier's template and proof as the final source for production setup. This guide helps organize the decision, but it does not replace product-specific requirements or approval of the formal proof.
08
Build an unambiguous order brief
For a single die-cut or kiss-cut piece, record the finished sticker size, the backing size when relevant, the design ID and the number of finished pieces. If several sizes use the same artwork, give each size its own line instead of combining them in one total.
Ask the reviewer to confirm units and what the quantity field counts. A request for 100 can mean 100 individual stickers, 100 finished sheets or 100 retail packs, and those are different production instructions. State the intended result in plain language beside the number.
For orders containing several designs or variants, use the multiple-design order guide to keep filenames, quantities and packing instructions aligned. The goal is a brief that a second person can verify without reconstructing the request from chat history.
- For a sticker sheet: finished sheet width and height; design IDs and individual cut sizes; layout, orientation and shared-backing artwork; requested number of finished sheets.
- For a sticker pack: every included design ID and finished size; number of each design in one retail pack; requested packing presentation; requested number of finished retail packs.
09
Final size check before approval
If any answer depends on an assumption, add it to the order notes and resolve it in the formal proof. Review the proof at actual size as well as enlarged. Check spelling, orientation, count, contour and the relationship between artwork and edge before approval.
A useful size guide should end with a specification that another person can check, not just a number chosen on screen. Save the approved proof and order brief with the source artwork so a reorder starts from a verified decision rather than memory.
- Does the sticker fit the measured usable surface with room around physical interruptions?
- Is the main idea readable at actual size and normal viewing distance?
- Are small text, faces and line gaps still clear on a paper mockup?
- Are the finished product size and each individual design size recorded separately?
- Does the border, bleed and intended cut match the requested finish?
- For a sheet, is there enough room to identify and peel every design?
- For a pack, is every included design and piece count listed?
- Have finished sheets or retail packs been separated from order-entry units and confirmed?
- Do the production file, review copy, order brief and proof use the same design IDs and version?
FAQ
Frequently asked questions
Is there a standard sticker size I should always order?
No single size solves every surface and artwork problem. Measure the usable area and test the smallest important detail at physical size. Confirm any available size limits for the selected product before ordering.
Does the size refer to the backing or the sticker?
It depends on the chosen format. State both dimensions for kiss-cut pieces and sheets, and identify which outline each measurement describes. For packs, record each piece separately.
Can I reuse one design across a sheet and a pack?
You can plan related artwork, but the production layout changes. A sheet requires spacing on shared backing; a pack requires an assortment and packing count. Prepare and review those instructions separately.
Should I add a fixed bleed amount from an online guide?
Use the current template or production instruction for that product. This guide distinguishes bleed, border and safe area; it does not establish a universal allowance.
What should I send for a size recommendation?
Send the intended surface, usable dimensions, artwork, format, design-level quantities and any packing requirements. Include a photo or mockup that makes physical obstructions clear.